20 Chocolate Brown Nail Ideas for a Warm and Cozy Look
Some colors feel like a warm drink on a cold day, and this is one of them. Rich, glossy, and endlessly wearable, chocolate brown nails wrap your hands in the same comfort as a favorite knit. From soft milk cocoa to deep espresso, every shade in this family flatters warm and cool skin alike.
Inside this collection, you will find 20 ways to wear the shade, from velvet finishes and French tips to plaid, pearls, chrome, and tiny hearts. Some sets stay calm for office days, while others bring party shine. I have noticed readers reach for the deeper tones first, then save the soft latte blends for quieter weeks.
Glossy Chocolate Brown
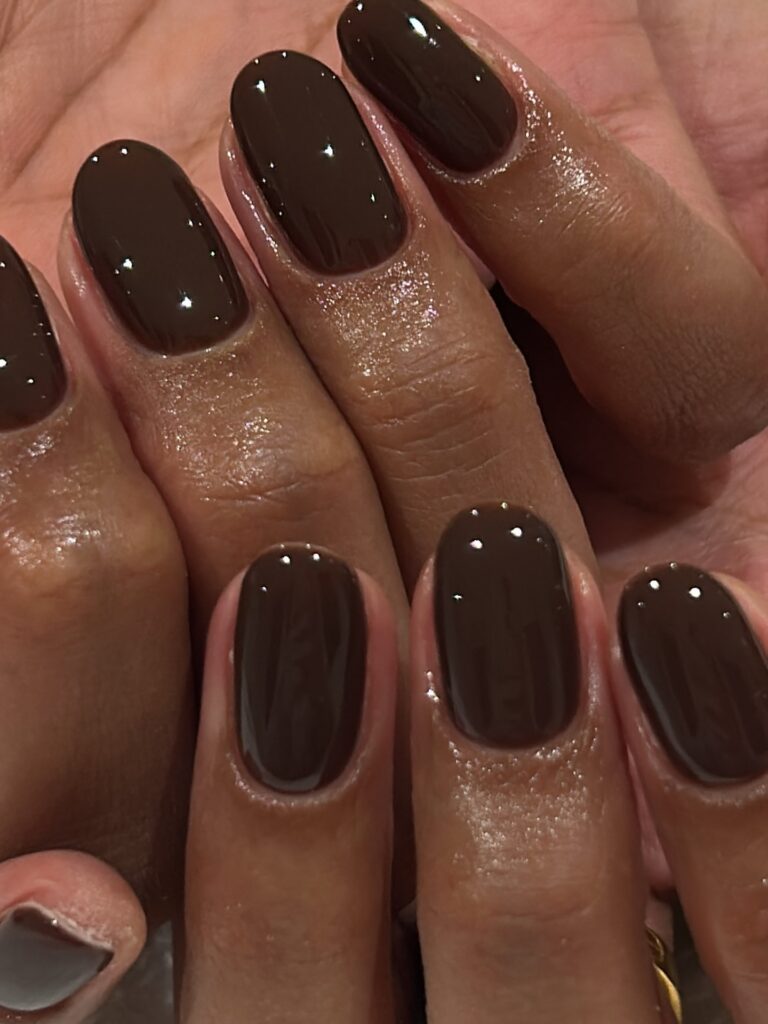
Gloss is where chocolate polish shows its richest side. A smooth, wet look finish makes the brown read deep and warm, close to melted cocoa under soft light. It pairs well with gold jewelry, camel coats, and the cream knits most of us live in once the weather turns cold.
Shape does half the work here. Medium almond or soft oval nails let the shine stretch along the nail, which makes hands look neat in photos and in person. Keep cuticles oiled and edges smooth, because a glossy dark shade shows dry skin faster than pale polish ever will.
Chocolate Velvet Finish
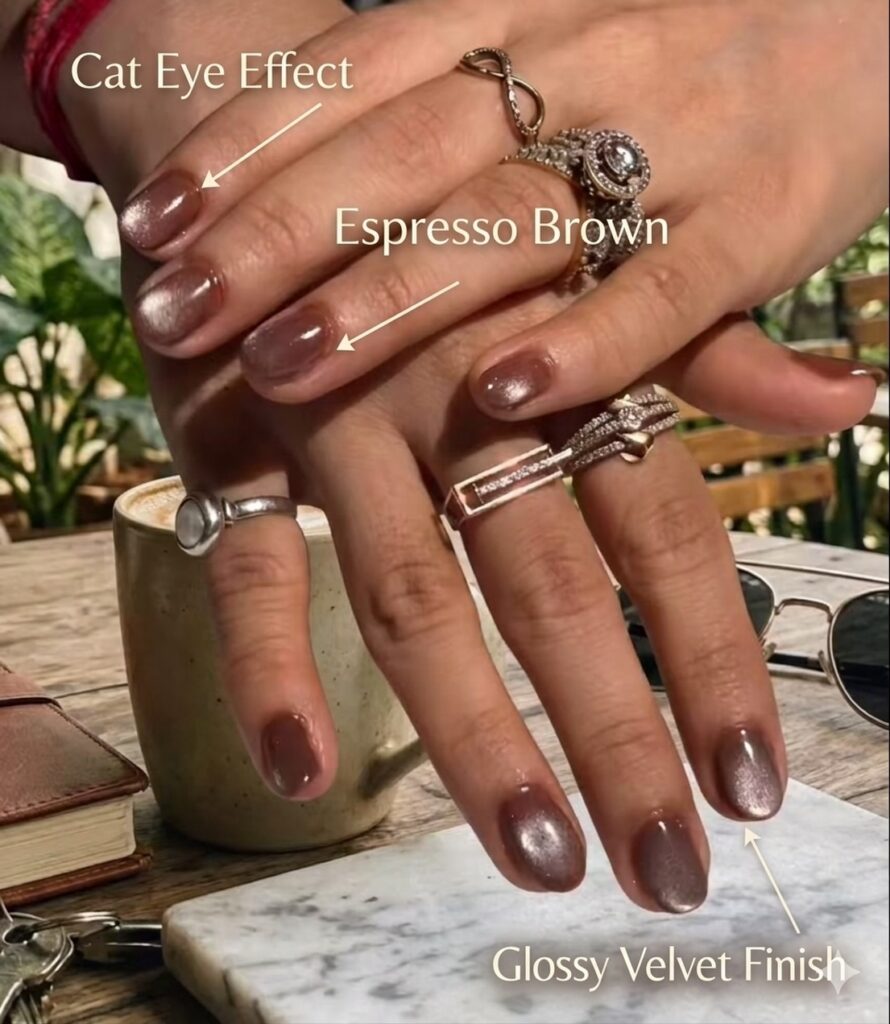
- Magnetic velvet gel in a milk chocolate shade gives a soft glow that moves as hands turn in the light.
- Hold the magnet a few millimeters above the wet gel for ten seconds, then cure at once for the clearest band of shimmer.
- Keep the base color warm, not grey toned, because cool browns can look flat against winter skin.
- Almond and oval shapes suit this finish best, since the glow follows a rounded curve without sharp breaks.
Velvet texture turns a plain brown set into something you keep looking at through the day. The glow sits inside the color instead of on top of it, so the manicure feels soft rather than sparkly. It is a strong pick for dinners, photos, and evenings when you want warmth without glitter.
Chocolate French Tips
Quick Tip:
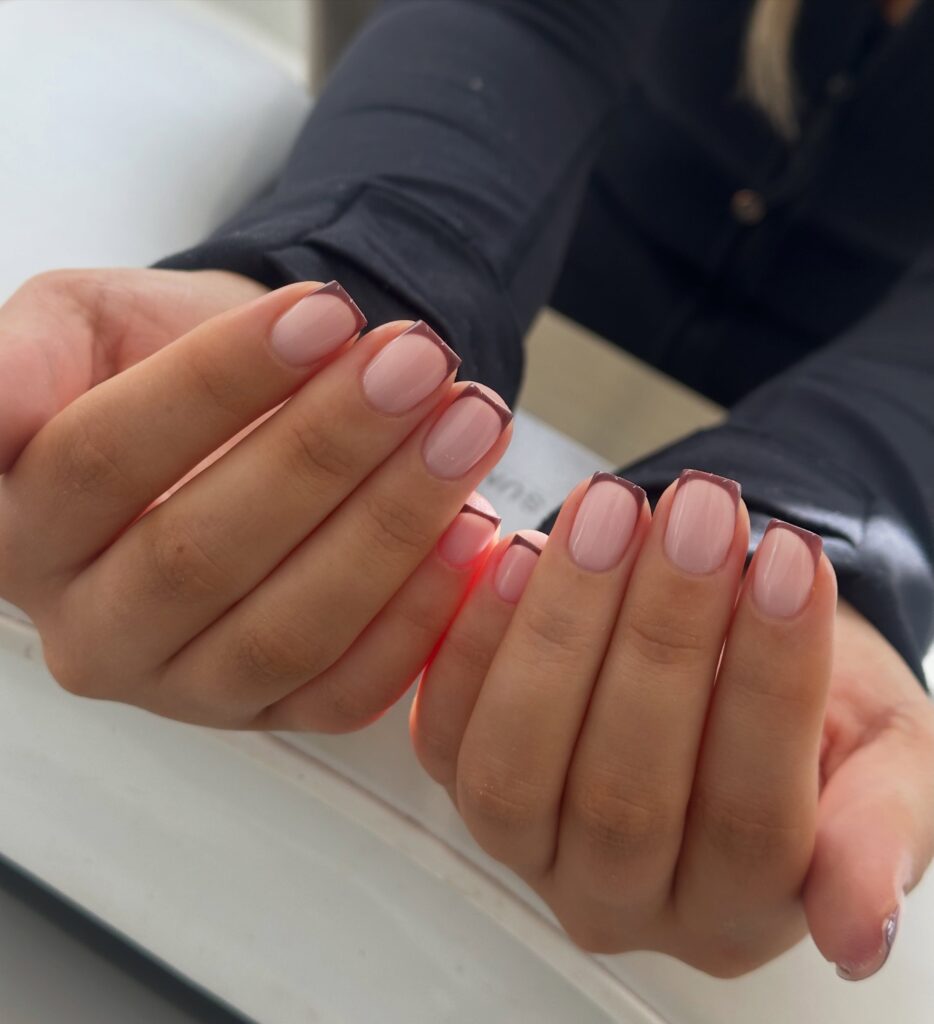
Choose a tip color two shades deeper than your base. The stronger contrast keeps cocoa tips readable from a distance and stops the design from looking faded by week two.
Brown tips give the French shape a cozy update that still reads clean at work or school. The sheer nude base keeps the hands bright, while the dark edge adds the warmth of a favorite sweater. Readers who love classic nails but feel bored by white tips land here happily.
Espresso Brown Shine
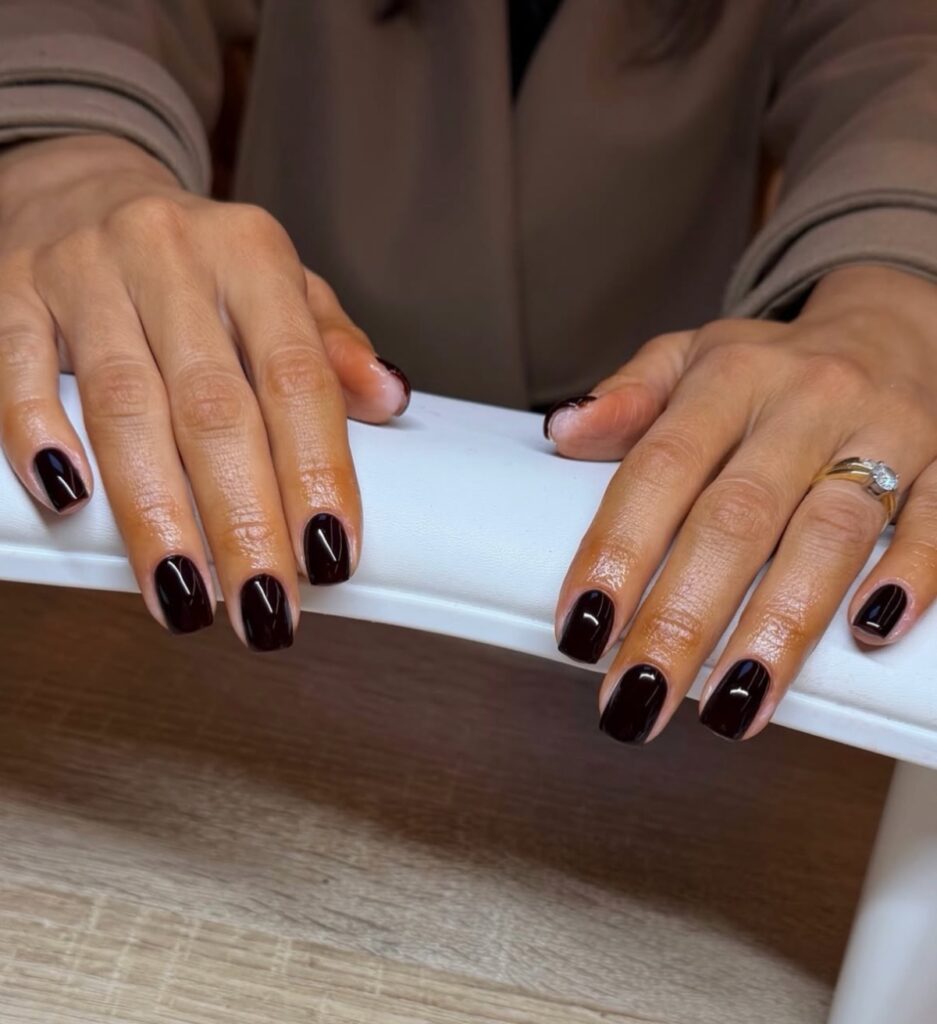
BEFORE: Pale nude polish can wash out hands in winter light. The color looks clean for a day, then starts to feel thin next to heavy coats and dark scarves.
AFTER: Espresso brown brings instant depth. Its near coffee darkness makes skin look warmer by contrast, and a high shine top coat keeps the set from reading flat or dull.
Espresso sits at the deep end of the brown family, so it works like a neutral with more presence. It matches black outfits without blending into them and softens the look of red winter skin around the cuticles. In my experience, clients who fear black polish settle happily into espresso.
Short Chocolate Nails
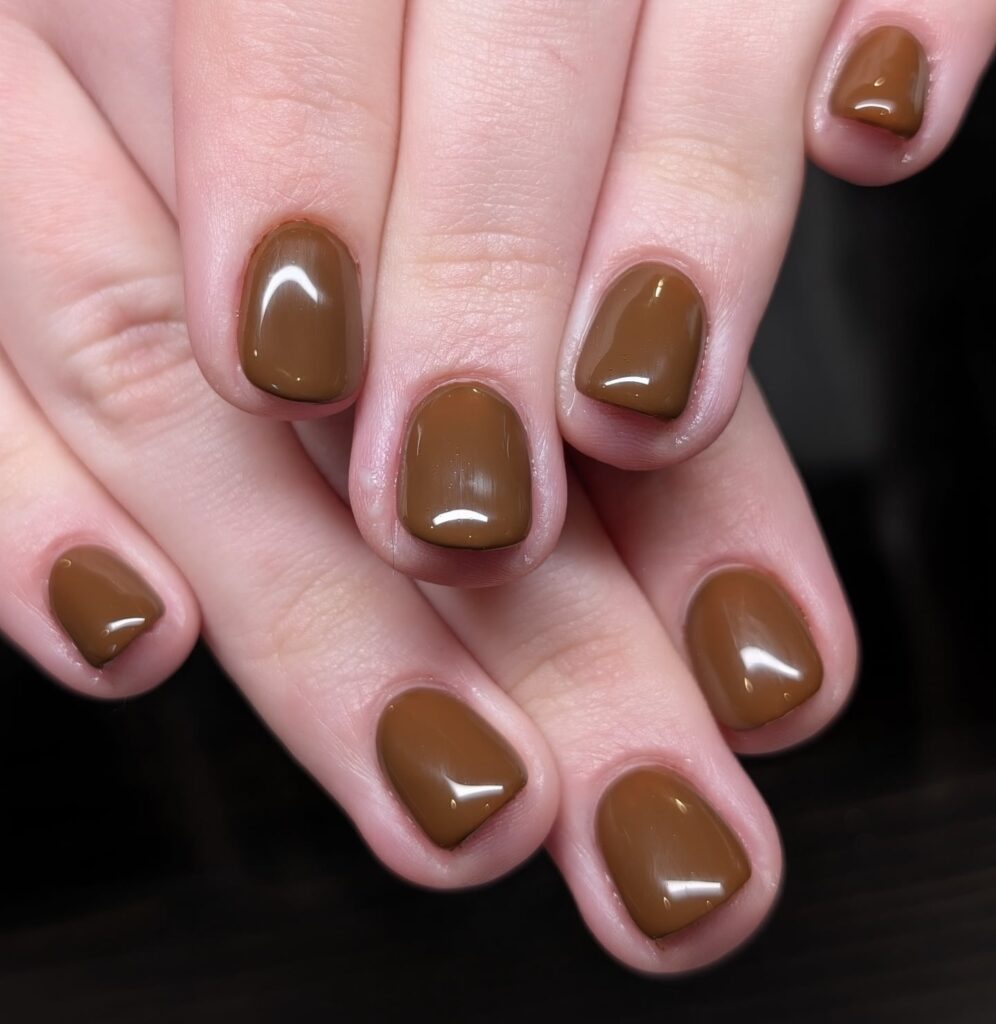
- Trim nails to a length just past the fingertip, then file them into a soft square or squoval shape.
- Buff the surface lightly and wipe away dust, because dark polish clings to every ridge it finds.
- Paint two thin coats of cocoa polish, letting each coat dry before the next to avoid streaks.
- Seal with a glossy top coat and wrap the free edge, since short nails chip at the tip first.
Short length makes deep brown feel tidy instead of bold, which suits busy weeks and office dress codes. The smaller canvas also means quicker polish changes at home, a real plus when you like switching shades often. Keep one spare mini bottle in your bag for fast touch ups.
Matte Chocolate Brown
| Detail | Matte Chocolate | Satin Chocolate |
|---|---|---|
| Shine | Flat, zero shine | Soft, low glow |
| Surface feel | Dry, powdery look | Smooth, slight sheen |
| Pairs well with | Gold jewelry, black knits | Cream coats, denim |
| Upkeep | Wipe oil marks daily | Top coat every few days |
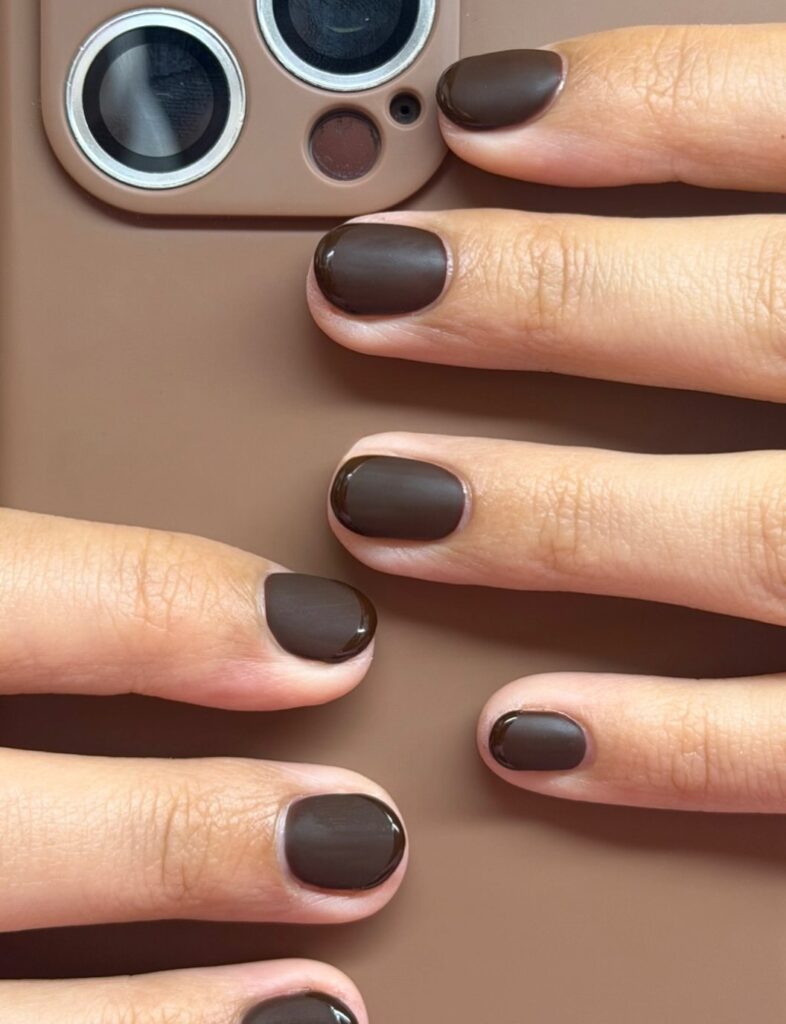
Matte brown reads like cocoa powder, soft and a little moody, and it flatters short and medium lengths best. Fingerprints and hand cream can leave shiny patches on the surface, so a quick wipe with a dry cloth restores the flat look. Save gloss for the accent nail if you miss shine.
Chocolate Gold Accents
DO:
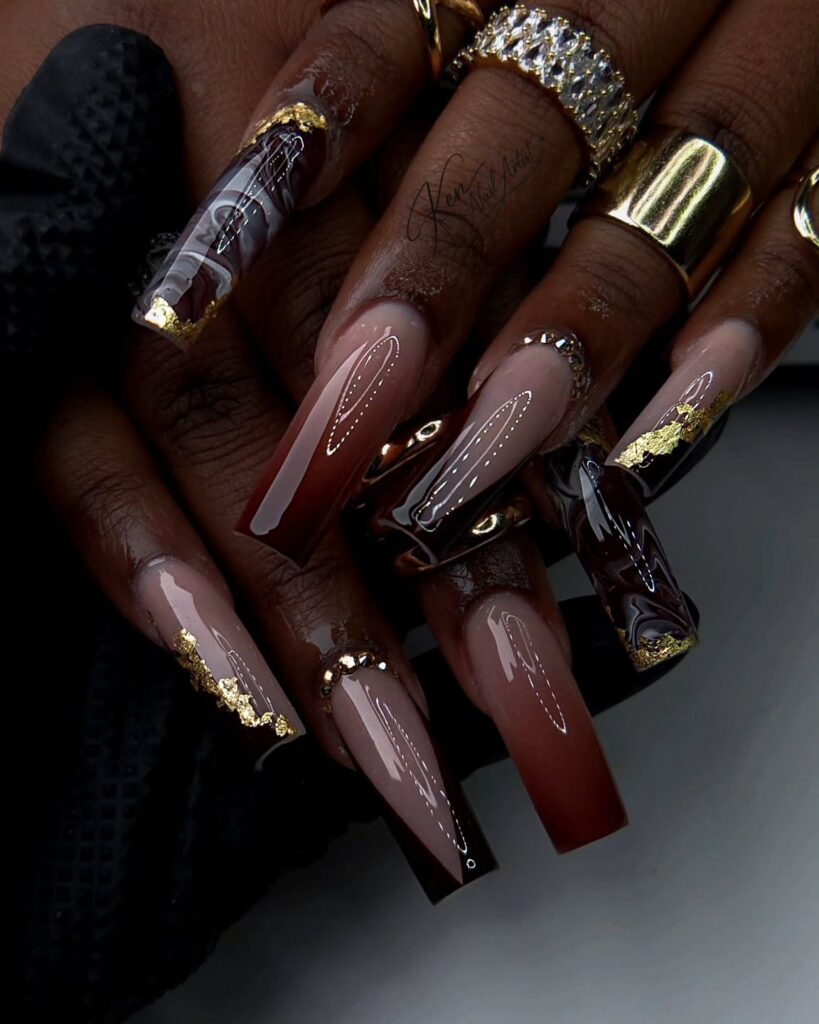
- Press small gold studs or foil flakes near the cuticle of one nail per hand.
- Warm gold pairs best with milk chocolate and caramel shades, which share its yellow base.
- Seal metal pieces with two layers of top coat so edges cannot catch on sleeves.
DON’T:
- Cover every nail with gold, because the brown base stops being the main event.
- Mix silver and gold pieces in one set, since the two metals pull the warm palette apart.
- Place studs right at the free edge, where daily tapping knocks them loose first.
Gold turns a simple brown set into evening wear without changing the polish itself. A few warm flecks near the cuticle catch candlelight at dinners and lift the whole hand in photos. Keep the metal sparse and let the cocoa shade do the heavy lifting everywhere else it can.
Chocolate Coffin Nails
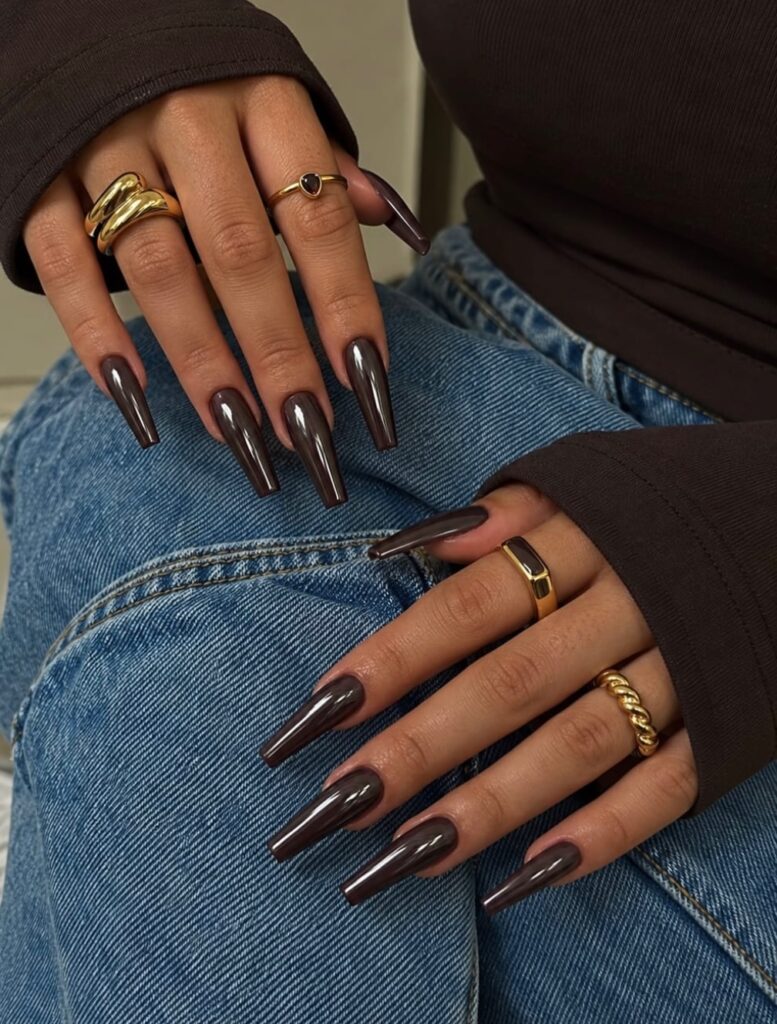
Finish: Plain lacquer friendly | Cost: Low
Best For: Long nail lovers, evening plans
Time: 60 to 90 minutes at a salon | Upkeep: High
Length lets a cocoa shade stretch out and look dramatic, especially in tapered shapes with slim sides. The flat tip gives room for the color to read at full strength from across a room. Long sets need gentle habits with doors, cans, and keyboards, so save them for weeks with fewer chores.
Chocolate Ombre Blend
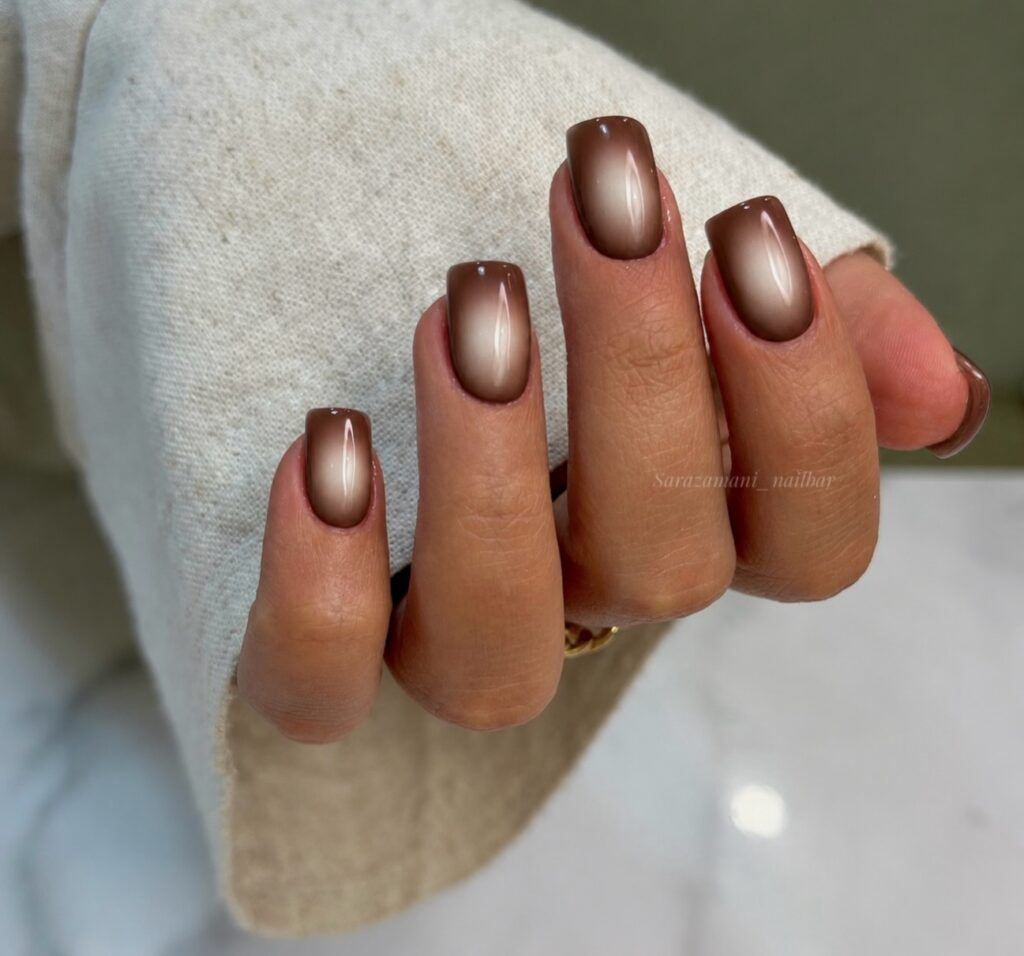
A gradient is the gentlest way into dark polish. The color melts from deep cocoa at the cuticle into a soft latte tone at the tip, so no single nail carries the full weight of the shade. That fade flatters growing nails too, since the lighter tip hides regrowth lines for days longer.
Sponge work gives the smoothest melt, dabbed in thin layers and sealed while the blend still looks wet. Keep the darkest tone at the base and the palest at the edge, because reversing the fade makes fingertips look heavy.
Chocolate Pearl Details
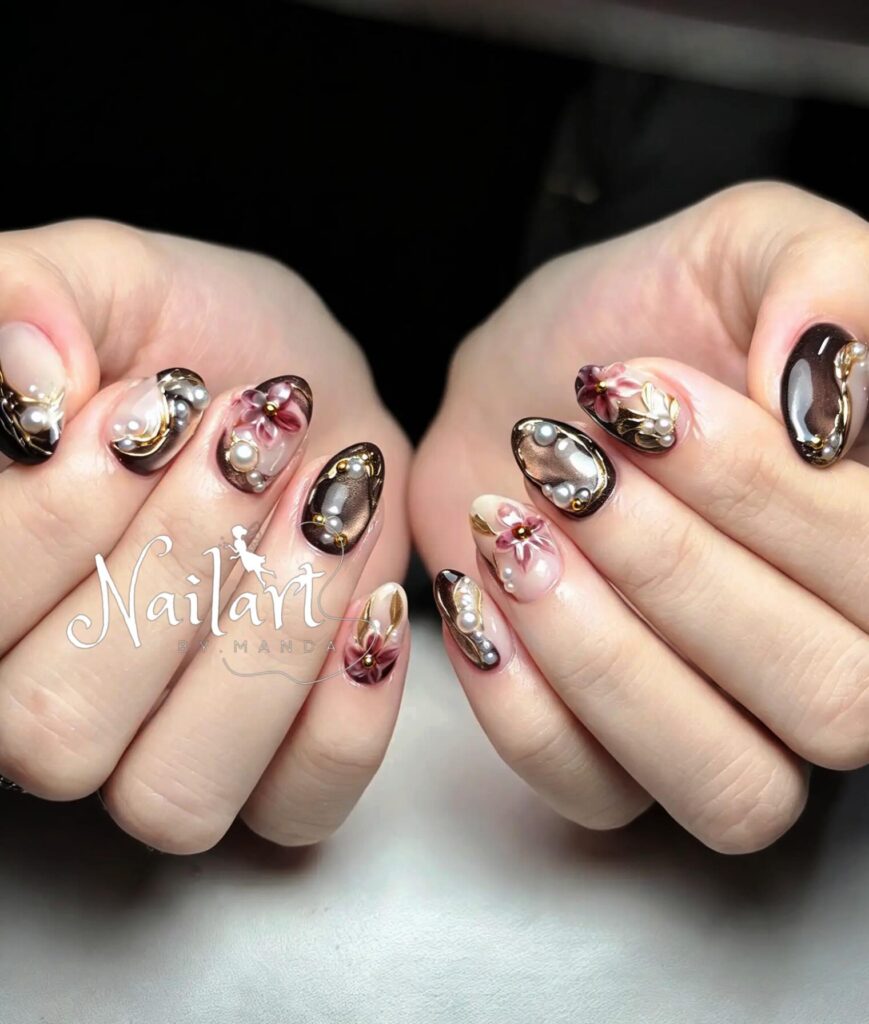
- Set three tiny pearls in a curve along the cuticle of the ring finger only.
- Flat back pearls sit closer to the nail and last longer than round beads.
- A glossy cocoa base makes pale pearls glow, so skip matte top coat on pearl nails.
- Nude or cream on the remaining nails keeps the pearl detail from feeling crowded.
Pearls soften the richness of brown and give plain sets a dressed feel for weddings and dinners. Their pale shine stands out against cocoa the way buttons stand out on a good coat. I have noticed pearl accents photograph especially well in daylight, when the base color reads warm and deep.
Chocolate And Cream
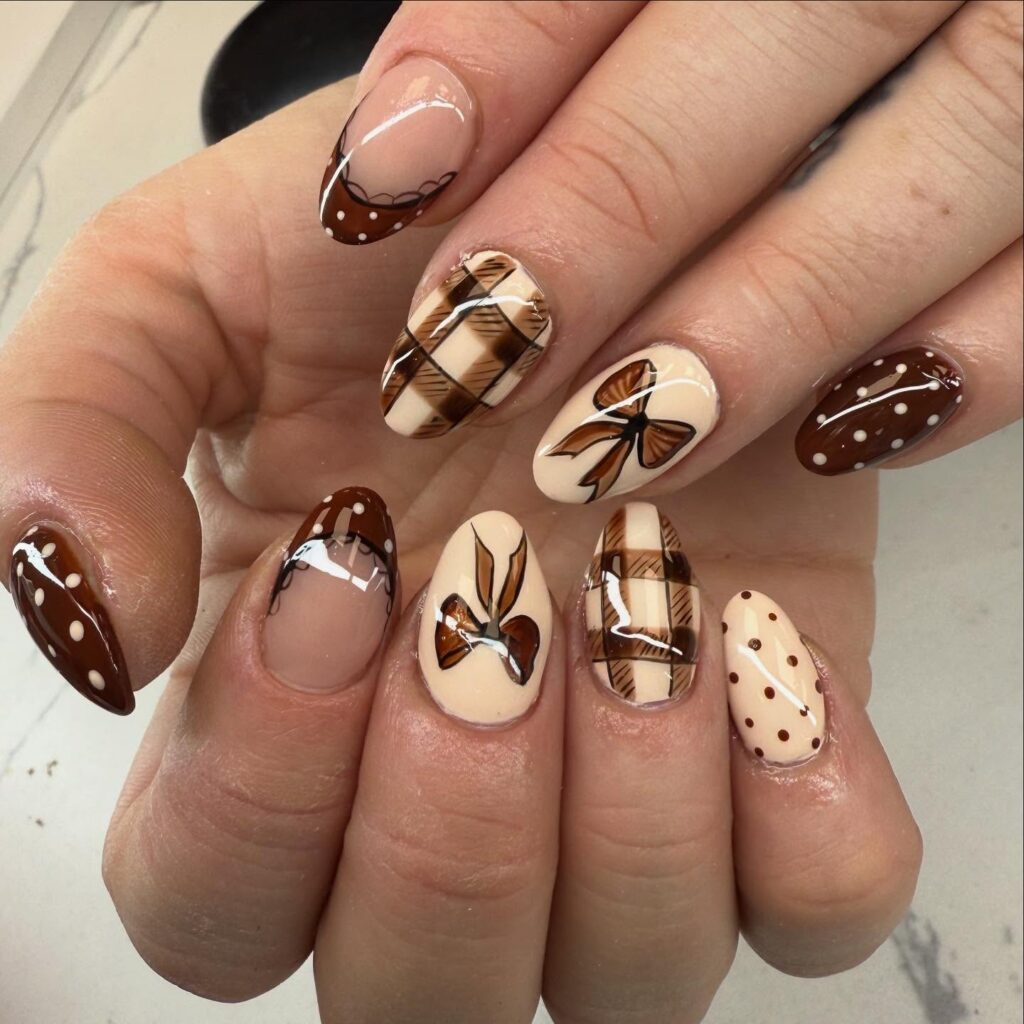
Quick Tip:
Paint cream on the middle and ring fingers, cocoa on the rest. Placing the pale shade in the center balances the hand and keeps the pattern calm from every angle.
Cream lifts brown the way steamed milk lifts coffee, softening the whole set without losing its warmth. The mix suits autumn knits, trench coats, and gold hoops worn on repeat. For a quieter version, use cream only as thin French lines over a full cocoa base on most nails.
Dark Mocha Brown
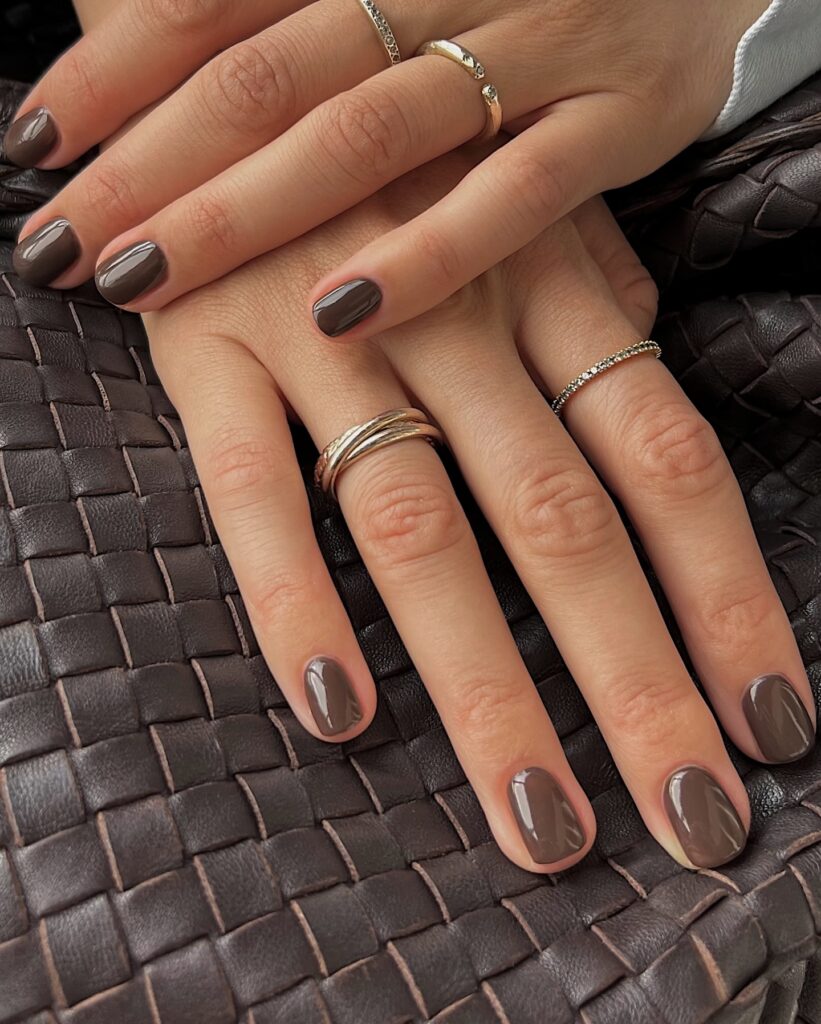
BEFORE: Bright summer browns with orange tones can clash with winter wardrobes. Next to grey coats and black boots, a warm tan shade often reads dull within days.
AFTER: Dark mocha fixes the mismatch with its cooler, deeper base. The shade sits close to black in low light, then warms up in daylight, which keeps it interesting all week.
Mocha works for readers who like the drama of dark nails but want a softer edge than pure black. It lengthens the look of shorter fingers and hides small chips better than mid tone browns do. Keep a glossy finish here, because matte mocha can look dusty by day three.
Chocolate Marble Swirls
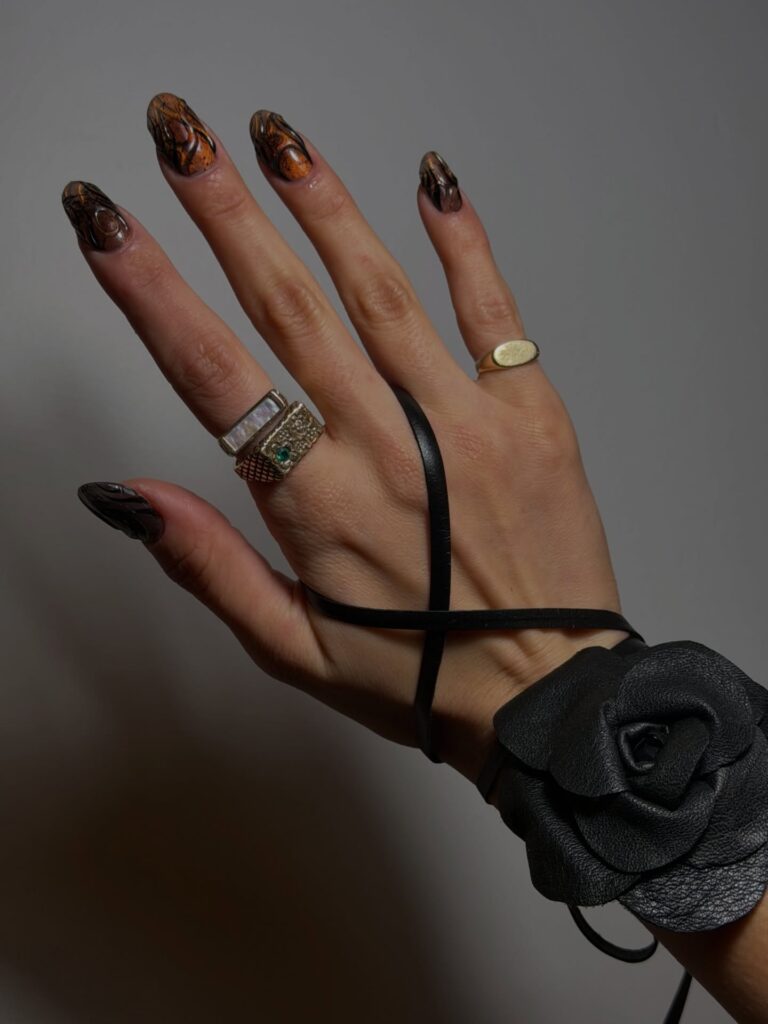
- Lay down two coats of warm cocoa polish and leave the top coat off for now.
- Drop tiny dots of cream and caramel polish onto the wet surface with a dotting tool.
- Swirl the dots once with a fine brush in a loose S motion, then stop before the colors muddy.
- Let the design set fully, then seal it under a glossy top coat.
Marble turns brown into something closer to polished stone or swirled hot chocolate, and no two nails ever match. Pale veins keep the dark base from feeling heavy, which helps medium lengths carry the pattern. Start with two marble nails per hand until your brush control feels steady.
Chocolate Glitter Fade
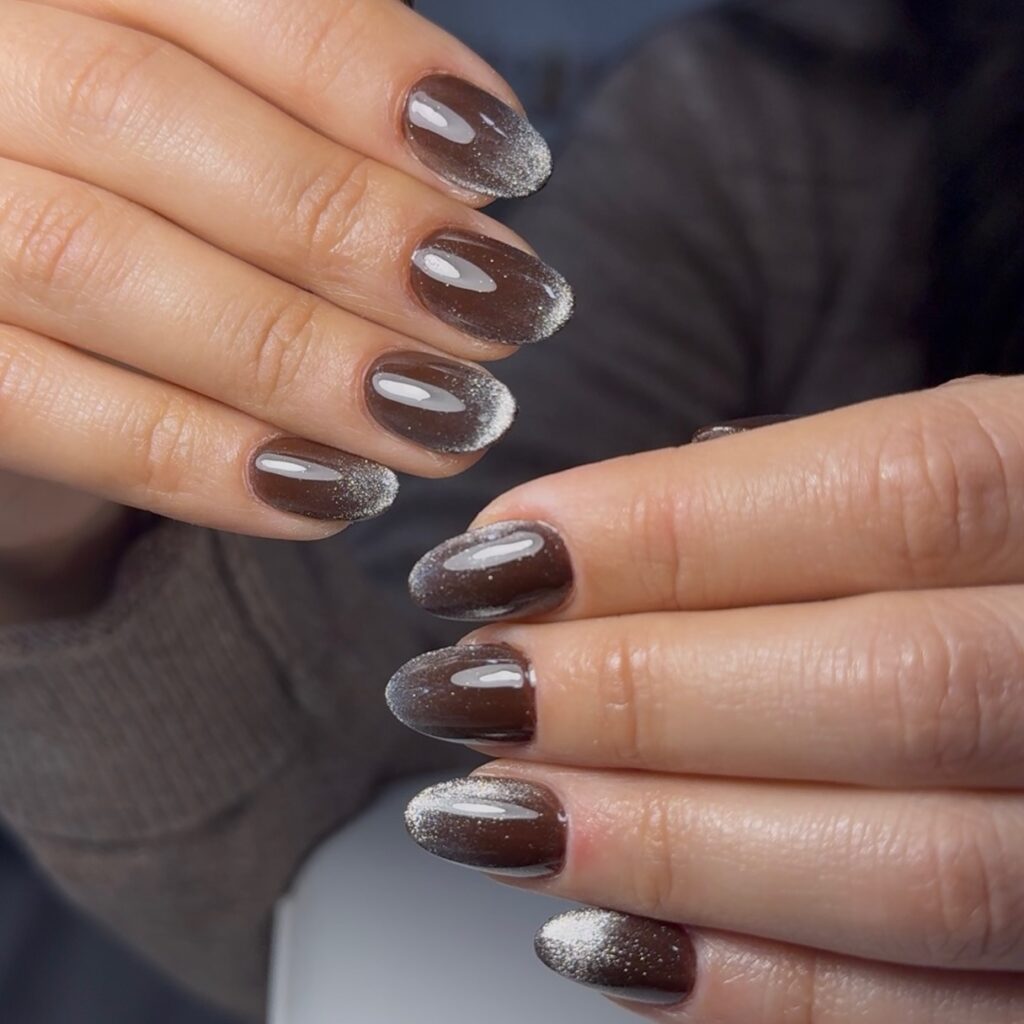
| Detail | Glitter at Tips | Glitter at Cuticle |
|---|---|---|
| Sparkle focus | Bright at the free edge | Soft glow near the base |
| Grow out | Line stays hidden for weeks | Edge shows sooner |
| Best event | Parties and photos | Dinners and dates |
A glitter fade lets brown stay elegant while the tips do the celebrating. Fine champagne glitter suits the warm base best, because its golden tone melts into cocoa instead of fighting it. Keep the fade short, ending before the middle of the nail, so regrowth stays hidden longer at home.
Chocolate Bow Details
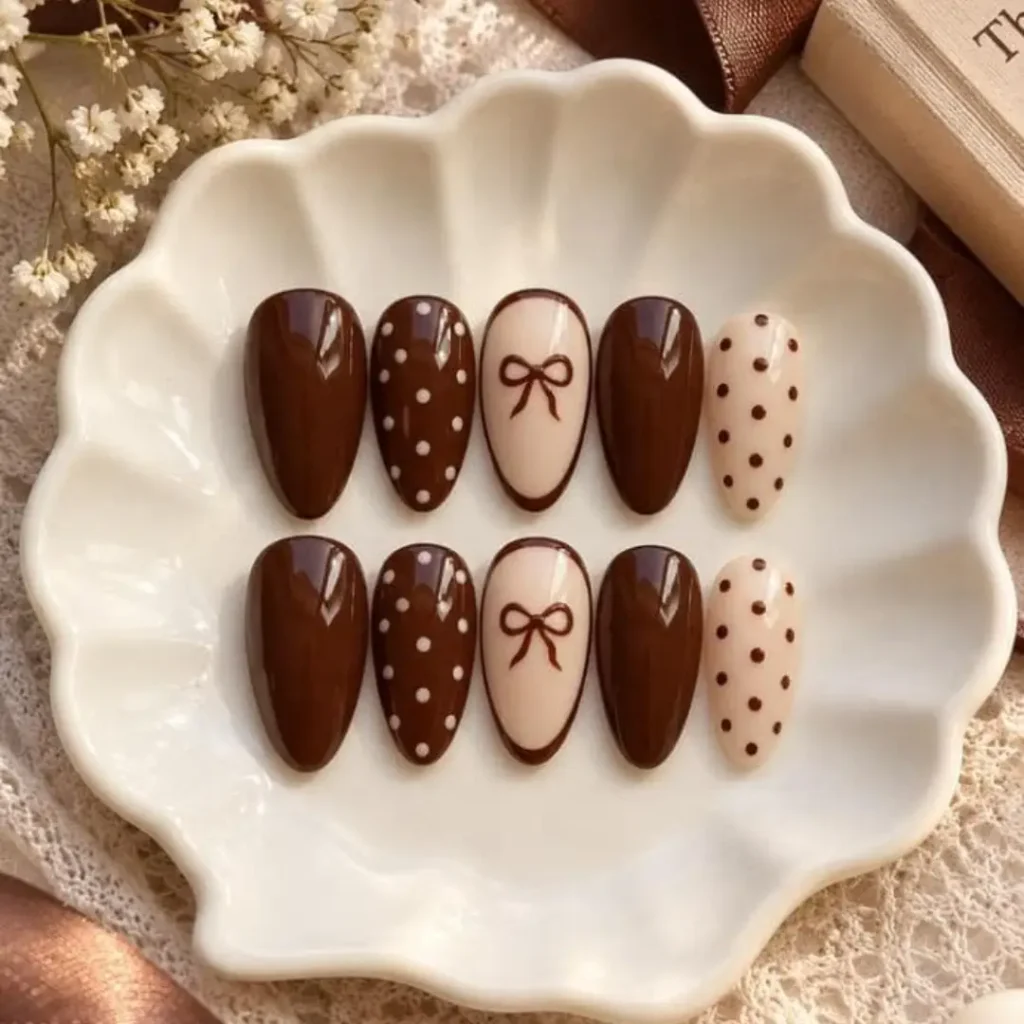
DO:
- Draw one small cream bow at the base of the ring finger with a liner brush.
- Flat painted bows survive typing and texting far better than raised charms.
- Match the bow shade to your pearl earrings or a cream knit for a linked look.
DON’T:
- Add a bow to every finger, which turns a sweet accent into a busy pattern.
- Place bows over glitter, since both details compete and neither reads clearly.
- Pick oversized bow decals for short nails, where they swamp the small canvas.
Bows give deep brown a gentle, gift wrapped charm that suits birthdays and holiday dinners alike. A single pale bow on a cocoa base reads clearly in photos and stays the focus of the whole set. Readers who love feminine detail without pink polish find their answer right here.
Chocolate Chrome Shine
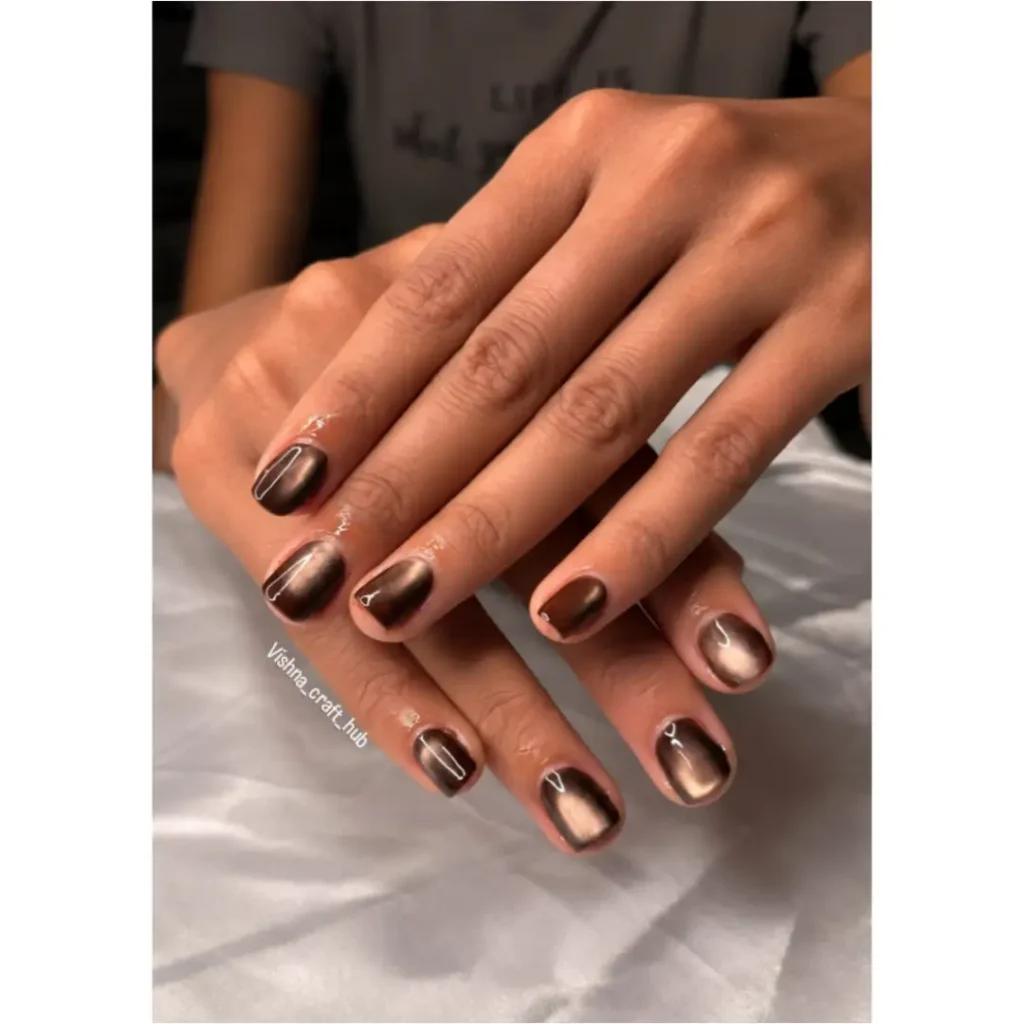
Finish: Chrome powder over gel | Base: Warm cocoa
Best For: Parties, nights out | Result: Liquid shine
Time: About 60 minutes | Upkeep: Medium
Chrome over brown looks like polished bronze, warmer than silver chrome and softer than a mirror black. The glow follows every curve, so neat filing matters more here than with cream finishes. Seal the edges well, because chrome wears first at the tips during busy weeks with lots of typing.
Chocolate Plaid Print
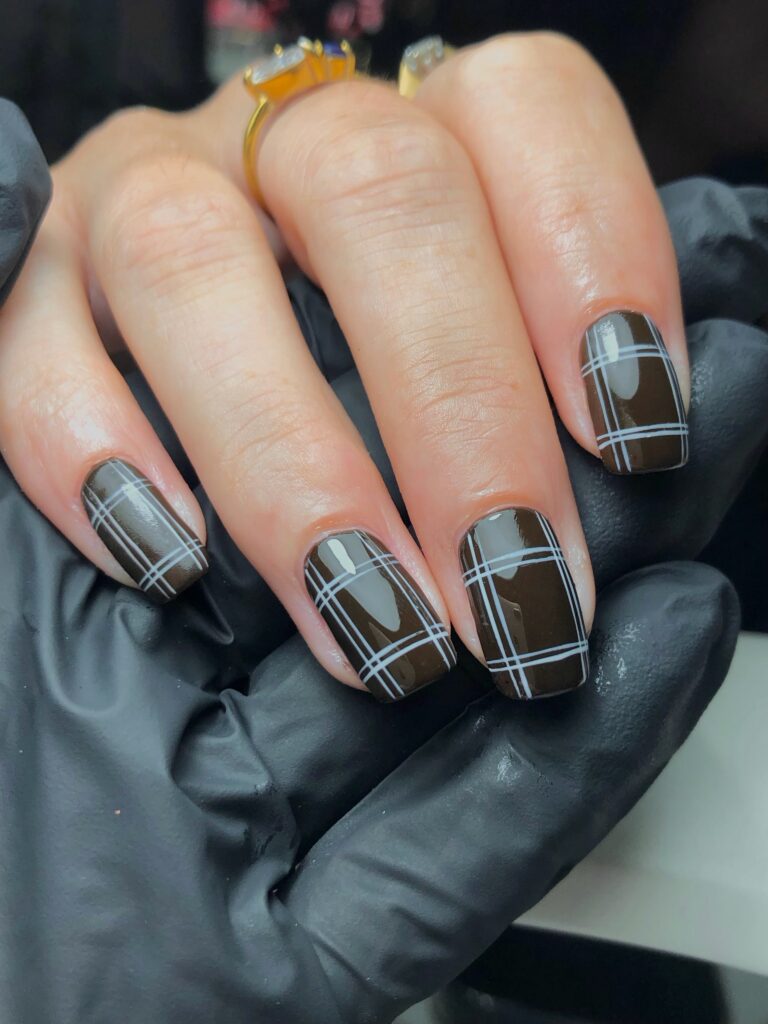
Plaid belongs to the cold season as much as scarves and wool coats do. Thin cream and caramel lines over a cocoa base copy woven fabric in miniature, complete with that cozy checked rhythm. The pattern reads festive in party photos yet still suits plain January days at the office desk.
Restraint keeps plaid looking smart. Two patterned nails per hand, with the rest in plain glossy cocoa, give the eye room to rest and the design room to shine. A matte top coat over the plaid nails sells the fabric effect best of all.
Chocolate Snowflake Art
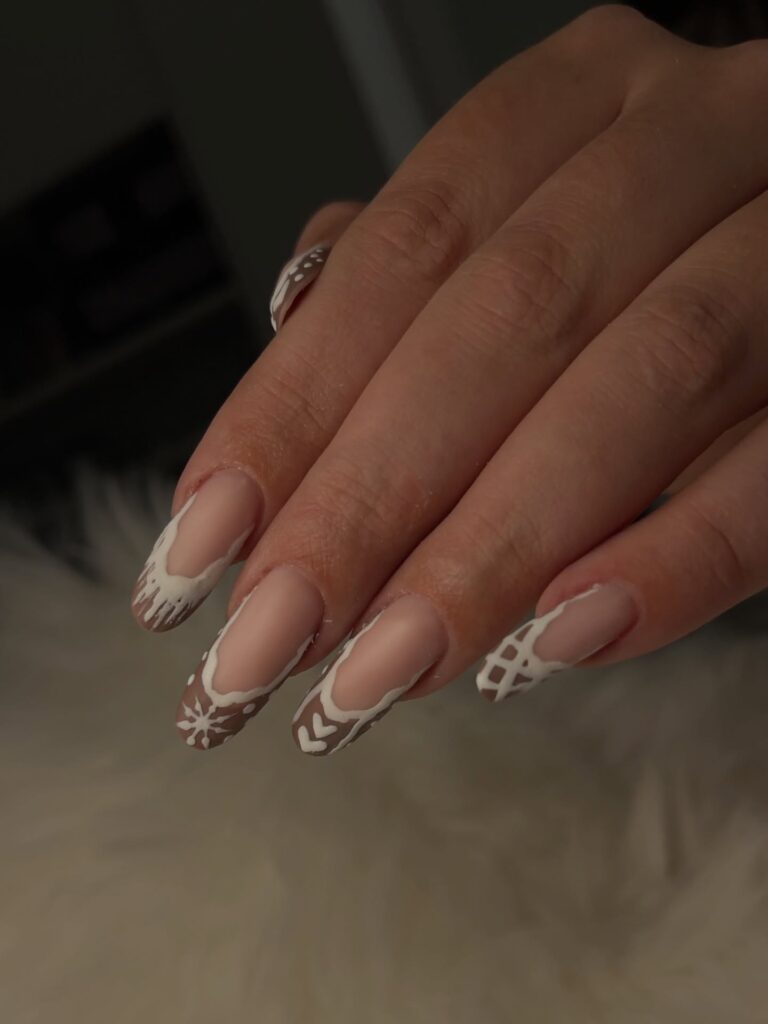
- Paint white flakes only on the thumb and ring finger, where the canvas is widest.
- Six thin lines with tiny side branches make a flake that reads clearly at arm’s length.
- A dotting tool keeps flake sizes even across both hands.
- Matte white over glossy cocoa gives the flake a frosted look against the shine.
Snowflakes turn a warm brown set into a winter story without a single red or green nail in sight. The white art stays crisp against cocoa and pairs well with silver jewelry and pale scarves. Save the largest flake for the thumb, where fine branches have space to spread out.
Chocolate Almond Nails
Quick Tip:
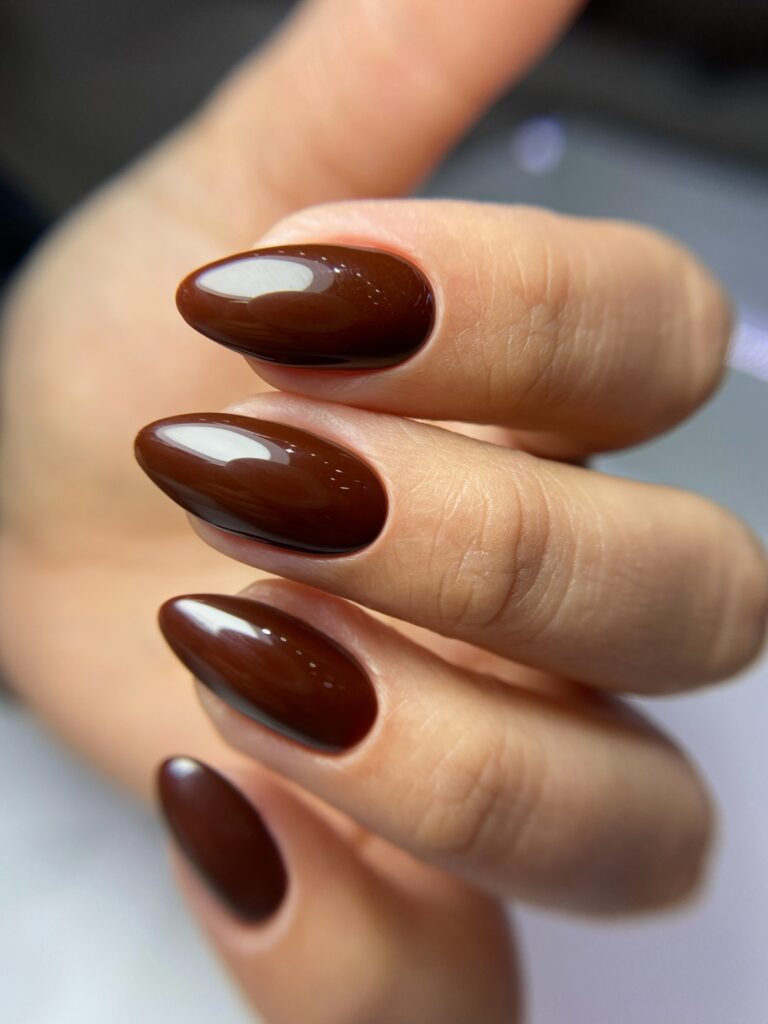
File the sides in one direction toward the center to build the almond point. Rushing with a back and forth motion splits the tip and weakens the whole shape.
Almond is the shape brown polish was made for, lengthening fingers and giving the color a smooth, tapered canvas. The pointed tip draws the eye along the nail, which makes even a plain cocoa set look planned. Keep the length moderate if you type all day at a keyboard job.
Chocolate Heart Accents
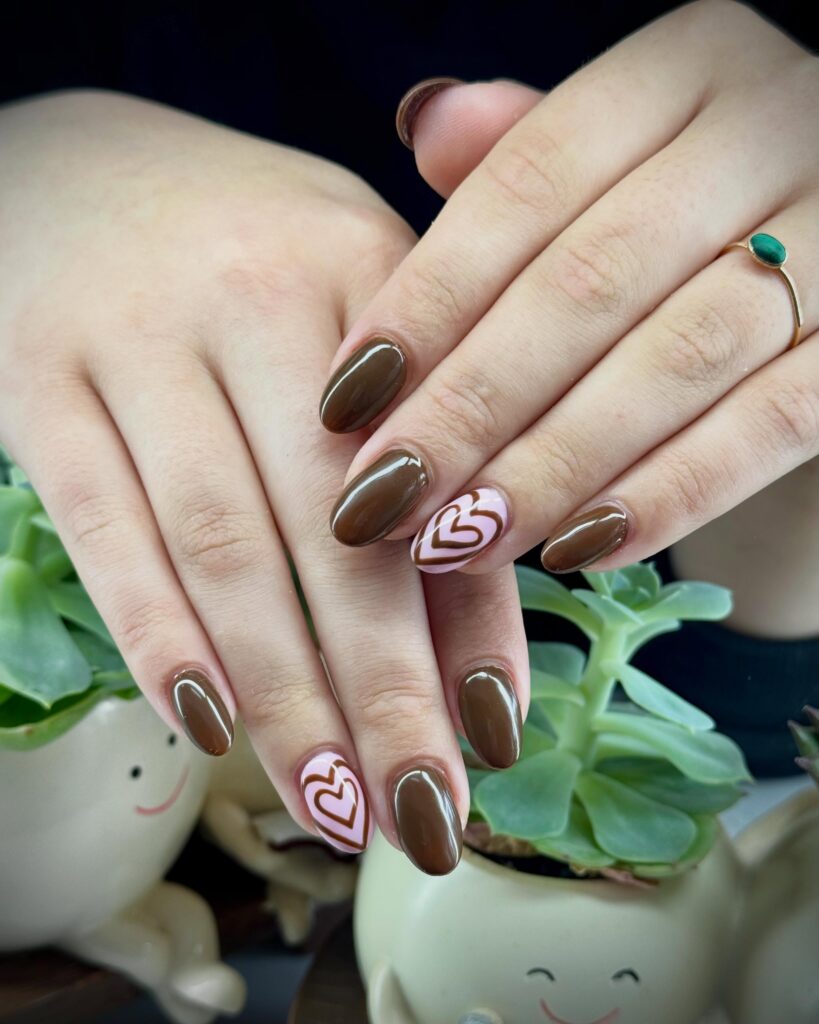
BEFORE: A full set of plain cocoa can feel serious for a date night or a birthday dinner. The color is rich, but ten matching nails leave little room for play.
AFTER: One small cream heart on each ring finger changes the mood at once. The sweet detail softens the dark base and gives the set a focal point that photographs love.
Hearts keep their charm well beyond February when they stay small and sit on a deep base. Cream hearts over cocoa read warm rather than sugary, a balance many readers look for in grown up nail art. This set suits anyone chasing romance with a calm, cozy edge to it.
Brown polish has a quiet confidence that never dates, and this collection proves how wide the family runs. Gloss, velvet, matte, chrome, and marble each give chocolate brown nails a fresh mood, from calm workday sets to full party shine. Save the ideas that caught your eye on Pinterest, try one at your next appointment, and share this list with a friend who loves warm shades. I have seen how one rich shade can lift a whole outfit, so pick the finish that feels like you and wear it all season.