How to Remove Gel Nail Polish at Home Without Damaging Your Nails
A fresh gel set looks perfect for weeks, right up until the regrowth shows and the edges start to lift. Learning how to remove gel nails at home saves the salon trip and, done gently, keeps your natural nails strong underneath. The secret is patience, not force. Acetone needs time to break the gel down so it slides off on its own, while peeling and prying tear away the very layers you want to protect. Below you will find the full soak off method in order, the fixes for stubborn spots, the mistakes that cause real damage, and the aftercare that helps nails recover fast.
Why Gel Polish Needs Careful Removal
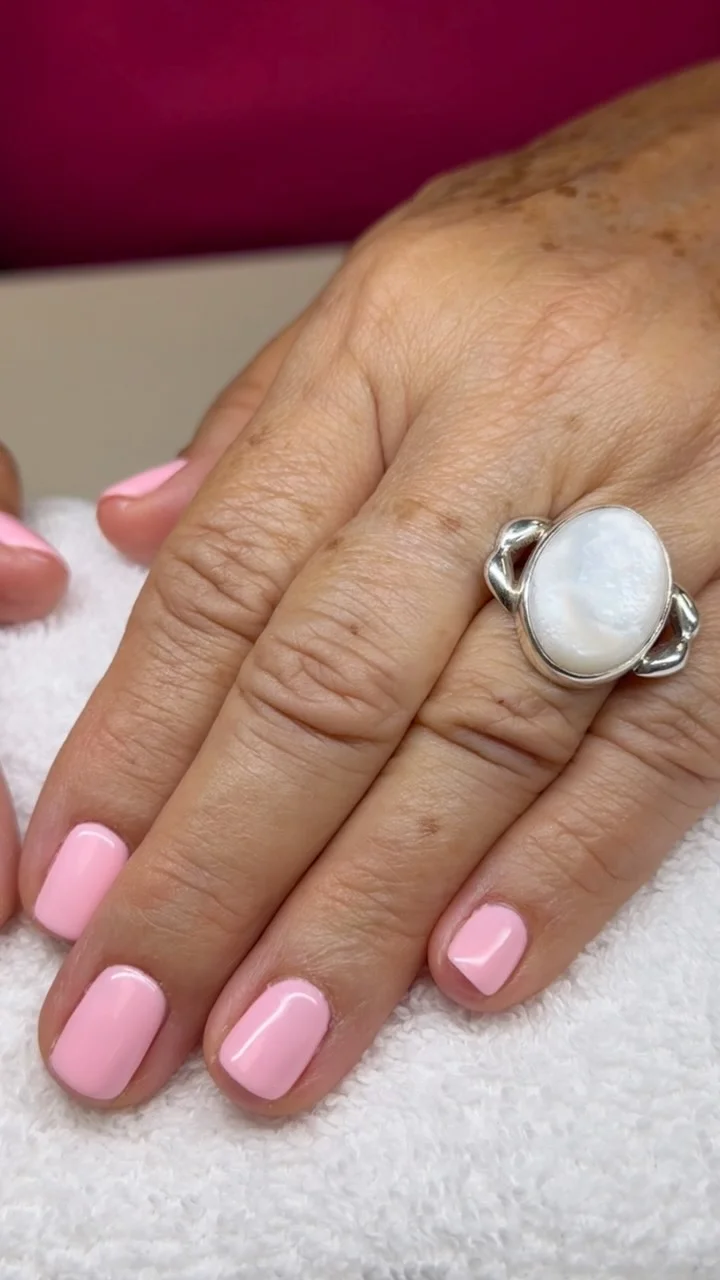
Credit: @nailsby_justina
Gel polish grips the nail plate far harder than regular lacquer, so it never lets go on its own. Peeling a lifting edge feels quick, but it pulls away thin layers of your natural nail with the color. After a few rough removals, nails turn thin, bendy, and prone to splits.
A patient soak off at home avoids that damage completely. Acetone softens the gel until it flakes and slides, so your own nails stay smooth and strong underneath. Slow is the whole secret here. Give the soak its full time, and removal feels gentle from start to finish.
What You Need Before You Start
Credit: @nailzbyvee
Ten quiet minutes of gathering saves real frustration halfway through removal, when your hands are wrapped and reaching is awkward. Lay every tool on a towel in the order you will use it, and check each one before the first drop of acetone is poured at all.
- Pour pure acetone into a small glass or ceramic bowl, and check the label says 100 percent acetone, since regular remover is too weak for gel.
- Cut ten foil squares large enough to wrap each fingertip, and tear cotton pads into nail sized pieces so nothing needs cutting later.
- Set out a 180 grit file, a soft buffer, and a wooden cuticle stick, then test the file edge so it feels firm, not worn smooth.
- Place cuticle oil and a rich hand cream at the end of the towel, ready for the moment the last wrap comes off.
Prep Your Nails And Protect Your Skin
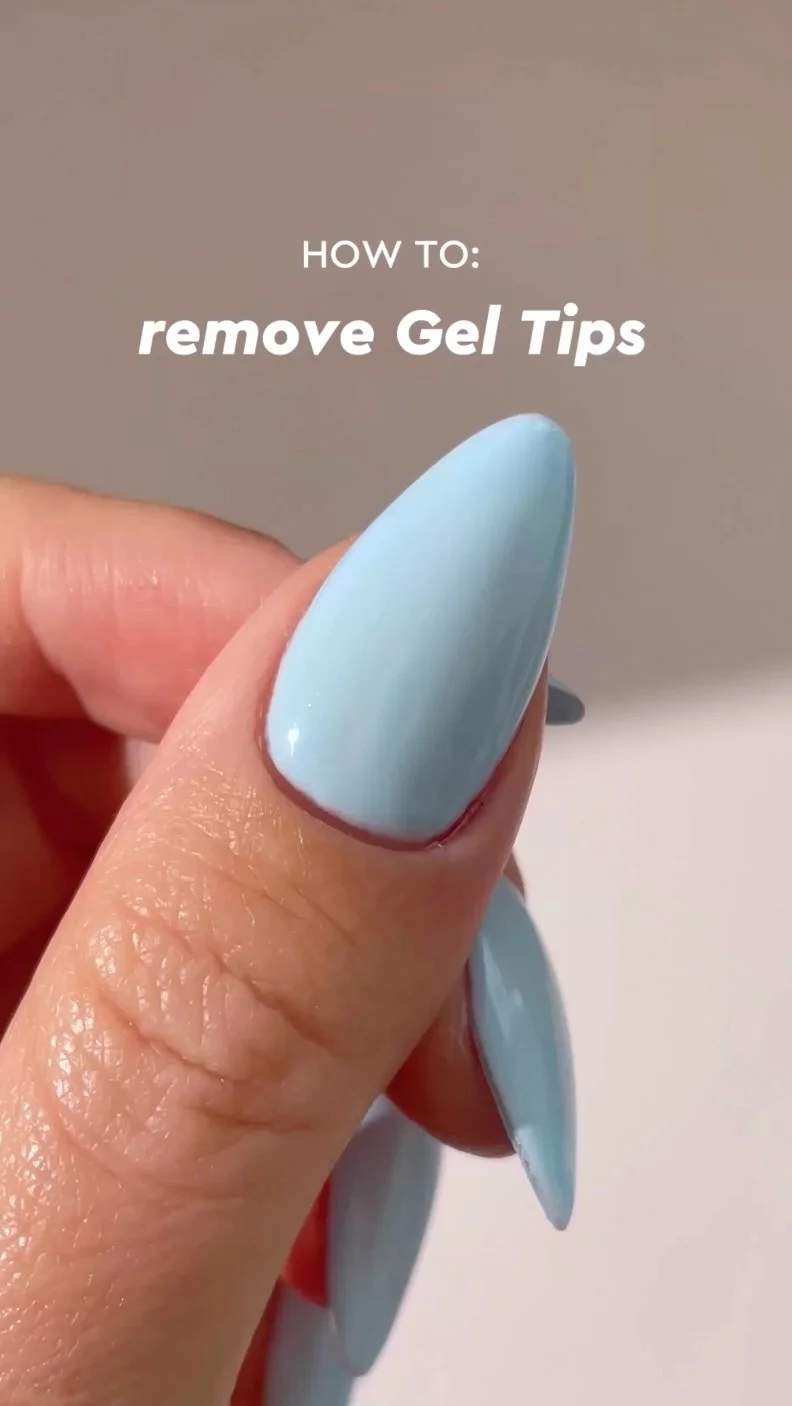
Credit: @leminimacaron
Quick Tip:
Work beside a sink with the window open or a small fan nearby, since acetone fumes build up fast in a closed room. Keep paper towel under both hands to catch drips before they reach wood or fabric.
Wash your hands with warm soapy water and dry them well, then push each cuticle back very gently with a wooden stick. Spread a little petroleum jelly on the skin around every nail, keeping it off the polish itself. That thin barrier guards skin against dryness during the long soak ahead in minutes.
File The Shiny Top Layer
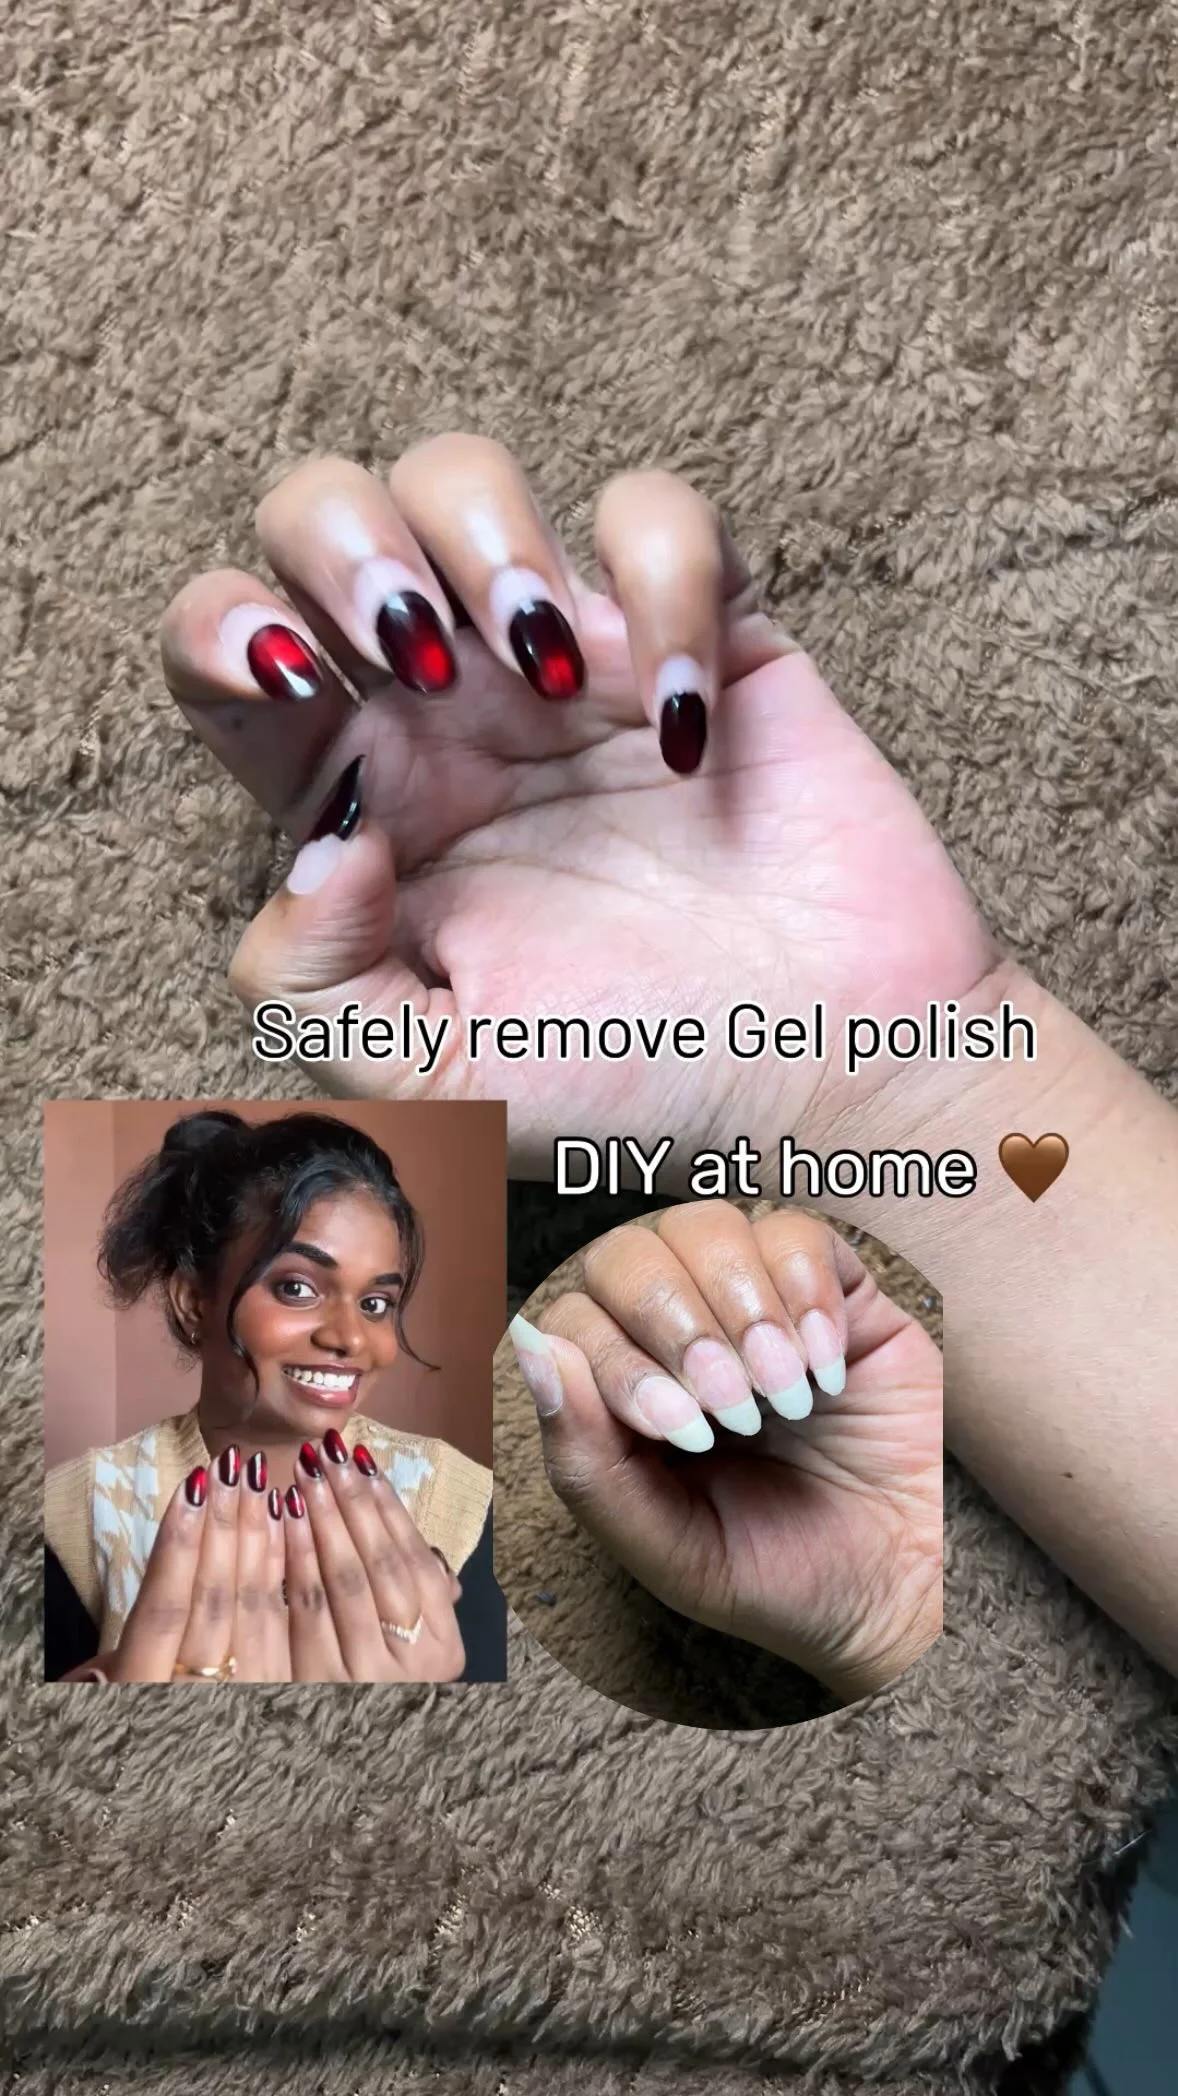
Credit: @spriyxx
Common Mistake: Filing with heavy pressure to speed things up. Deep strokes cut past the polish and score the natural nail below, leaving grooves that stay weak for weeks.
The Fix: Slow down and let the file do the work with light, short strokes. Stop the moment the glossy shine turns dull, because that broken seal is all the acetone needs.
Hold the file flat against one nail at a time and work across the whole surface, edges included, since shiny corners resist soaking later. Brush the dust away and check each nail under good light before moving on. Ten patient minutes here make the soak stage far easier overall.
Soak Cotton Pads And Wrap With Foil
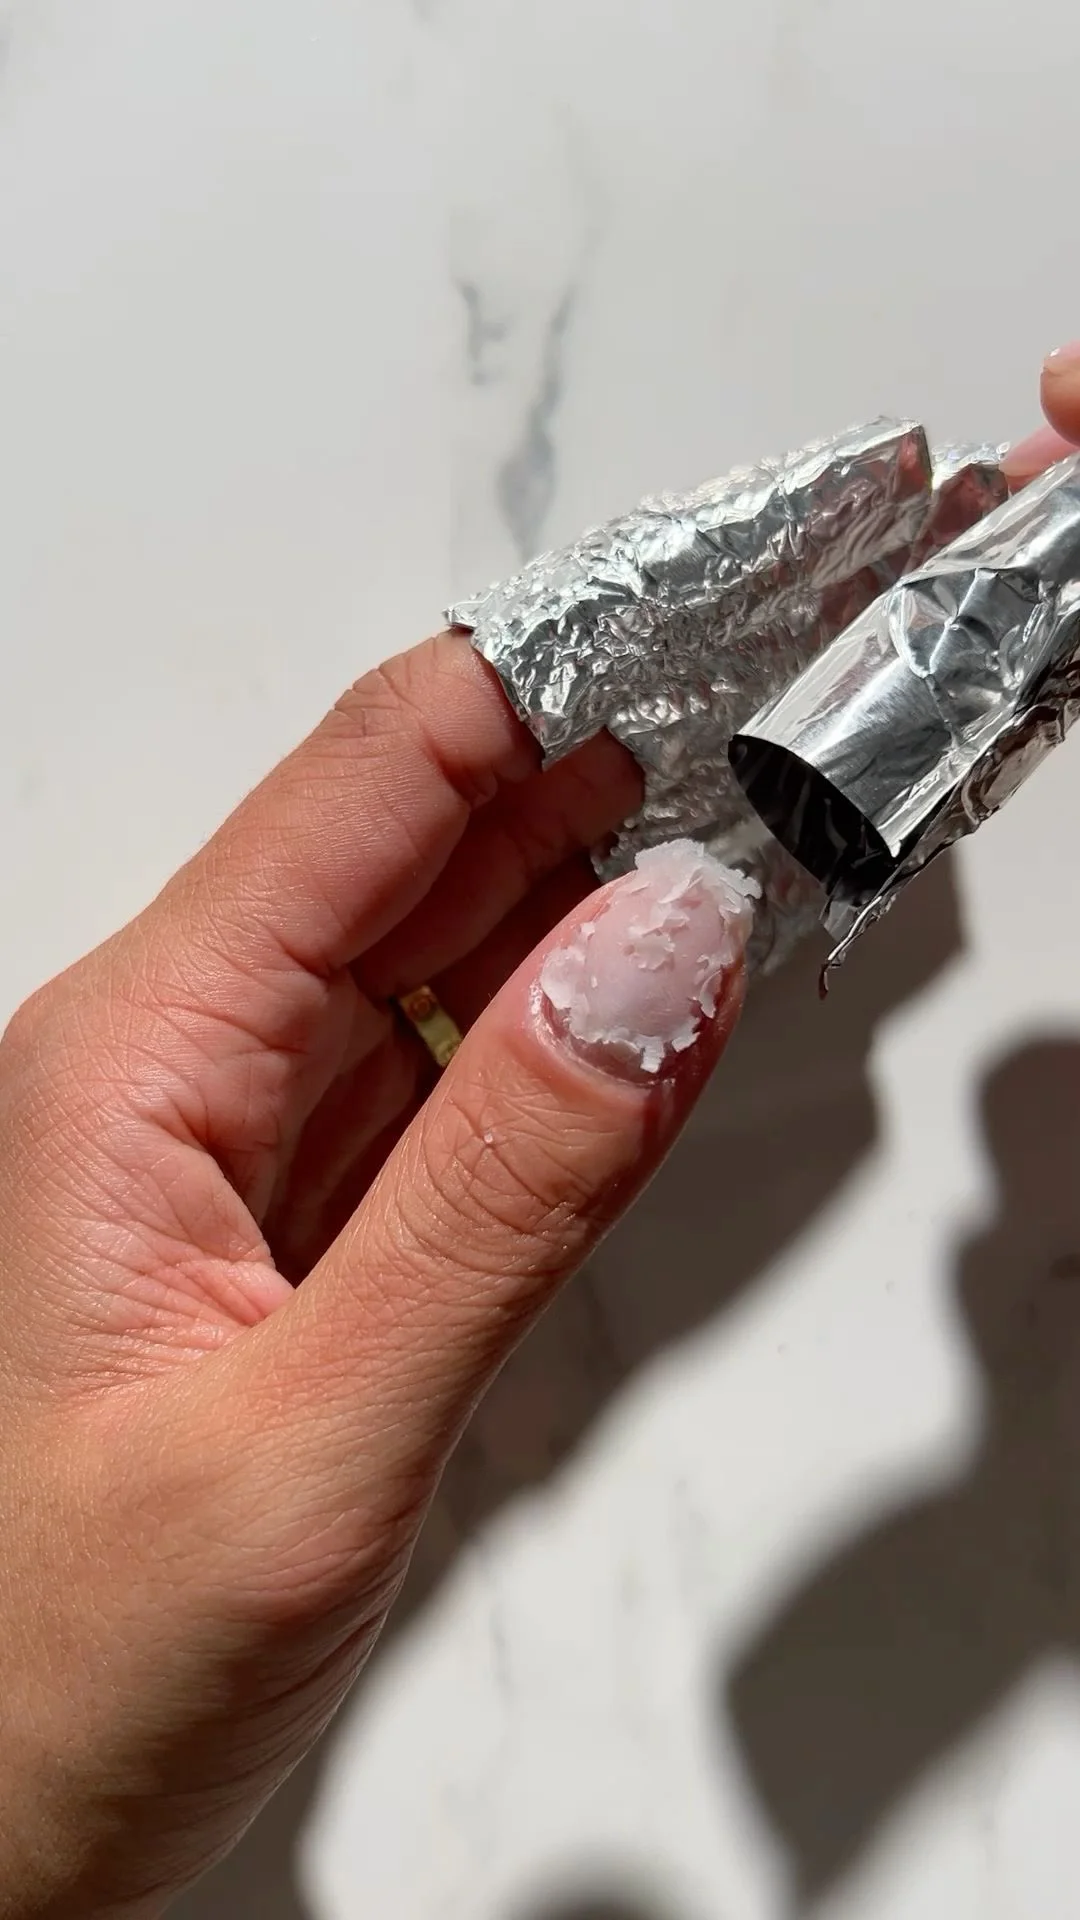
Credit: @thewnailbar
What You Need:
- Cotton pads cut to nail size: each pad holds acetone against one nail without flooding the skin around it.
- Pure acetone: it breaks down cured gel so the color softens instead of needing force.
- Foil squares: they hold each pad in place and slow evaporation during the wait.
- A timer: ten to fifteen minutes is the sweet spot, and guessing usually ends too early.
- A small towel: it protects the table from drips and gives wrapped hands a clean rest.
Learning how to remove gel nails at home comes down to patience at this exact stage. Press each soaked pad onto the nail, wrap the foil snugly, and leave your hands still until the timer ends. Warm hands under a light blanket help the acetone work a little faster on cold evenings.
Push Off The Softened Polish Gently
Credit: @nailturalaesthetic
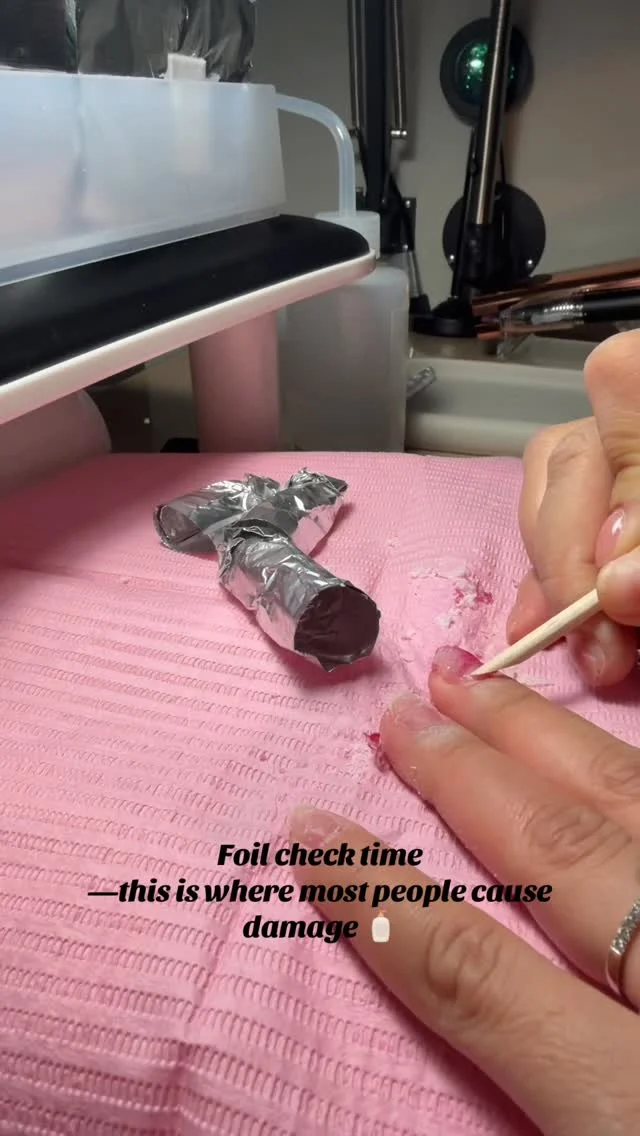
Before: The foil comes off and the polish looks wrinkled, lifted at the edges, and cloudy instead of glossy. The color may still cover most of the nail, which tricks many people into reaching for a metal tool.
After: The softened gel slides off in soft flakes with a light push from an orangewood stick held almost flat. What remains is a clean nail plate with no gouges, white scrape marks, or sore spots.
Work on one hand at a time and keep the stick at a low angle so it glides over the nail instead of digging in. Soft gel should move with barely any pressure at all. Any patch that stays firm is not ready, so leave it for the re-soak step below.
Fix The Spots That Will Not Budge
Credit: @christrionails
Do This:
- Re-wrap the stubborn nail with a fresh acetone soaked cotton pad for five more minutes.
- Check the top layer was filed enough, and lightly rough up any shiny patch that remains.
- Warm your hands or rest them under a towel, since gentle heat helps the soak work faster.
- Push only after the second soak, when the edges of the patch start to lift on their own.
Avoid This:
- Never pry under the polish with a metal pusher or your own nails.
- Never peel a hanging flake, because it can tear away live nail layers with it.
- Never file down through the color to reach the natural nail faster.
- Never rush all ten nails at once; work in small batches so nothing dries out.
Stubborn spots usually mean the top coat was thick or the soak ended a little early, not that the method failed. A short second soak solves nearly every case. I have seen far more nail damage from five impatient minutes than from gel polish itself, so patience protects your nails here.
Buff Smooth And Wash Away Residue
Credit: @nailartbysig
Time Needed: About 5 minutes | Difficulty: Easy
Tools Required: Fine buffer block | Cost: Almost nothing
Best For: Smoothing the nail plate after removal
Result: Clean nails ready for oil and rest
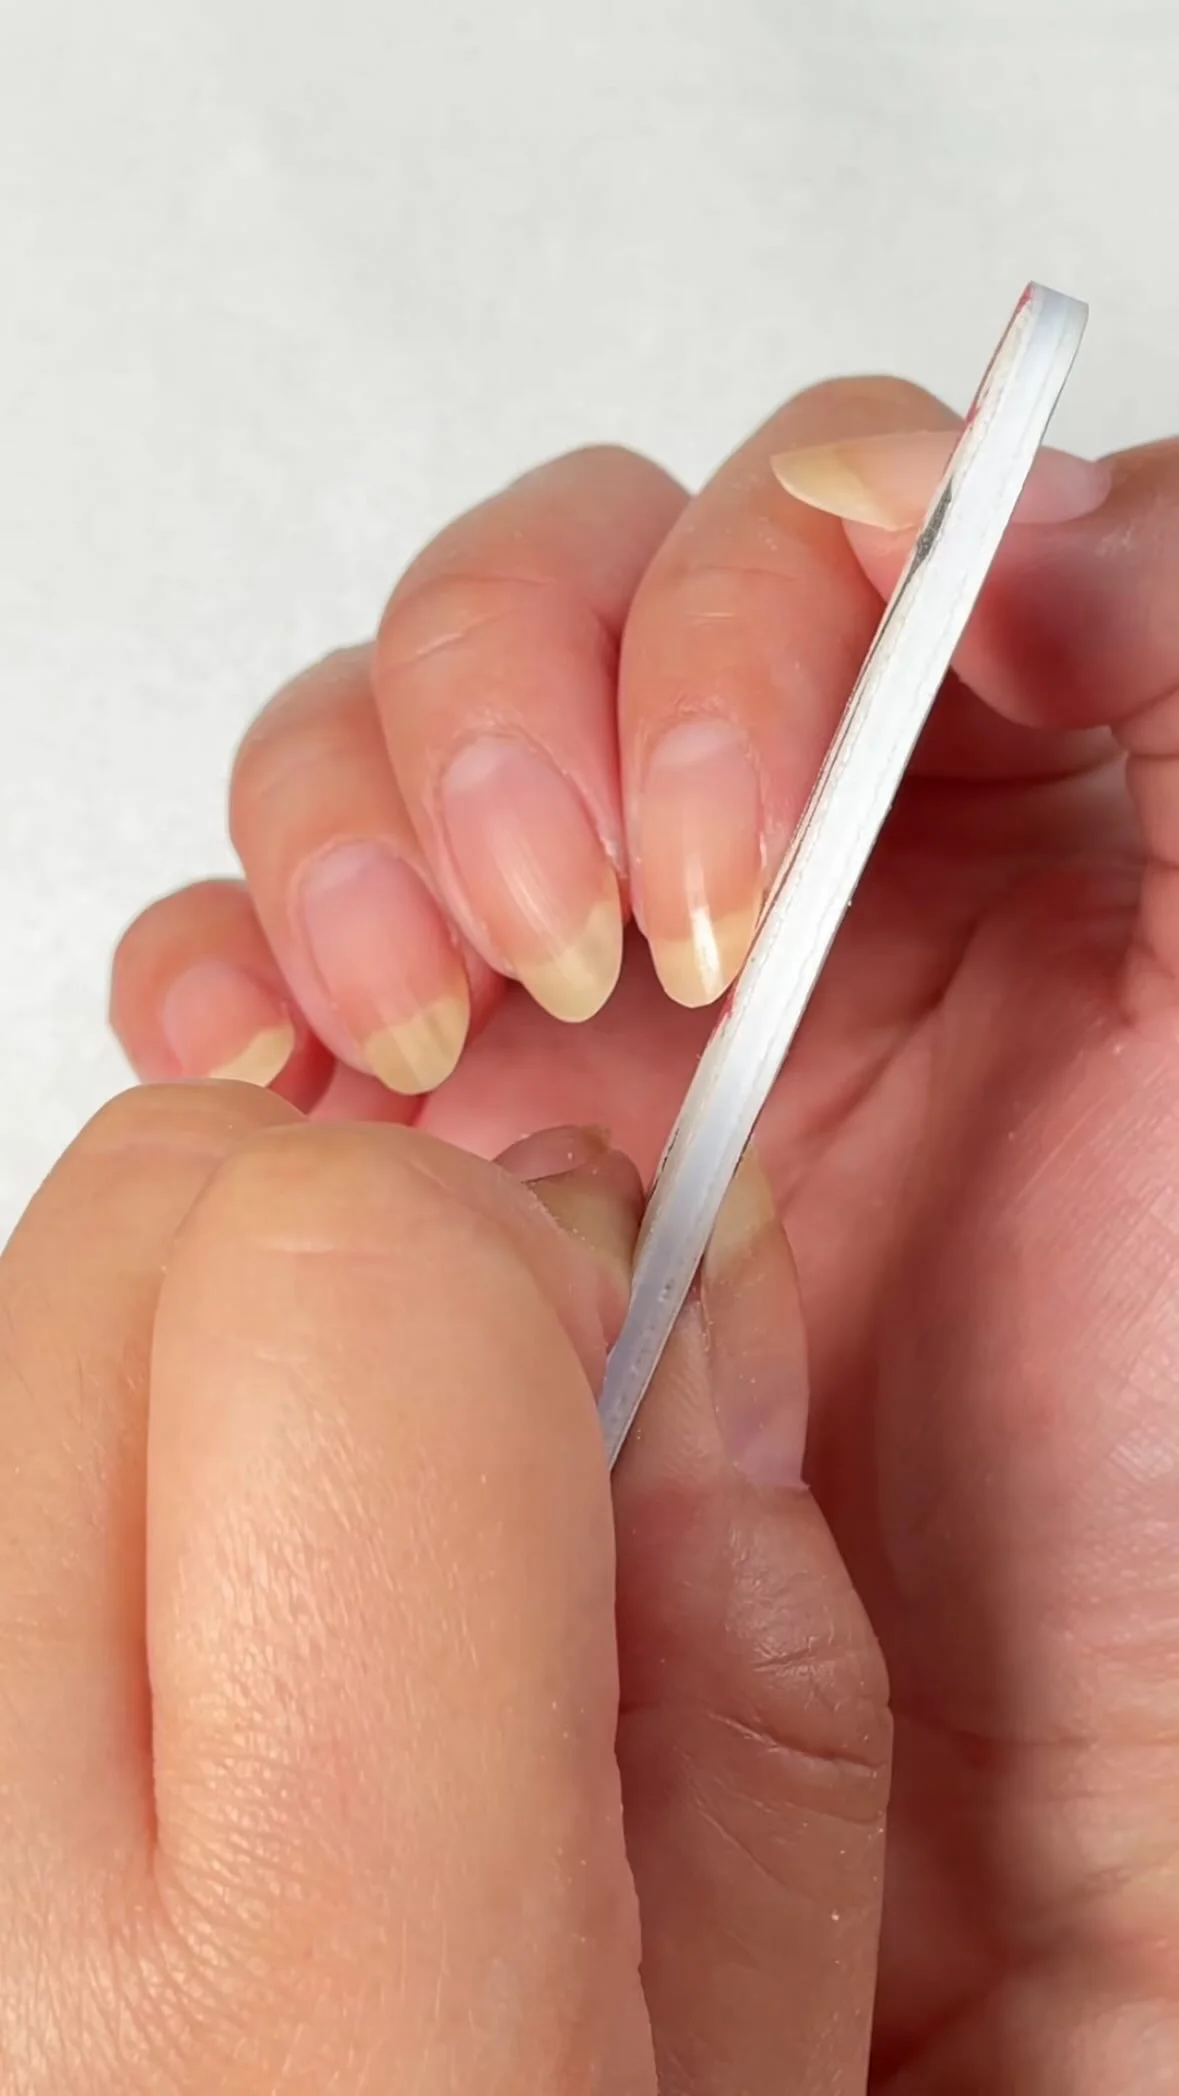
Buff with the softest side of the block and use feather light strokes in one direction, just enough to smooth raised edges. The goal is a tidy surface, not a thinner nail. Wash with warm soapy water afterwards to clear acetone and dust, then pat dry before any oil touches the nail.
Common Mistakes That Damage Nails
Credit: @ohmynails.satx
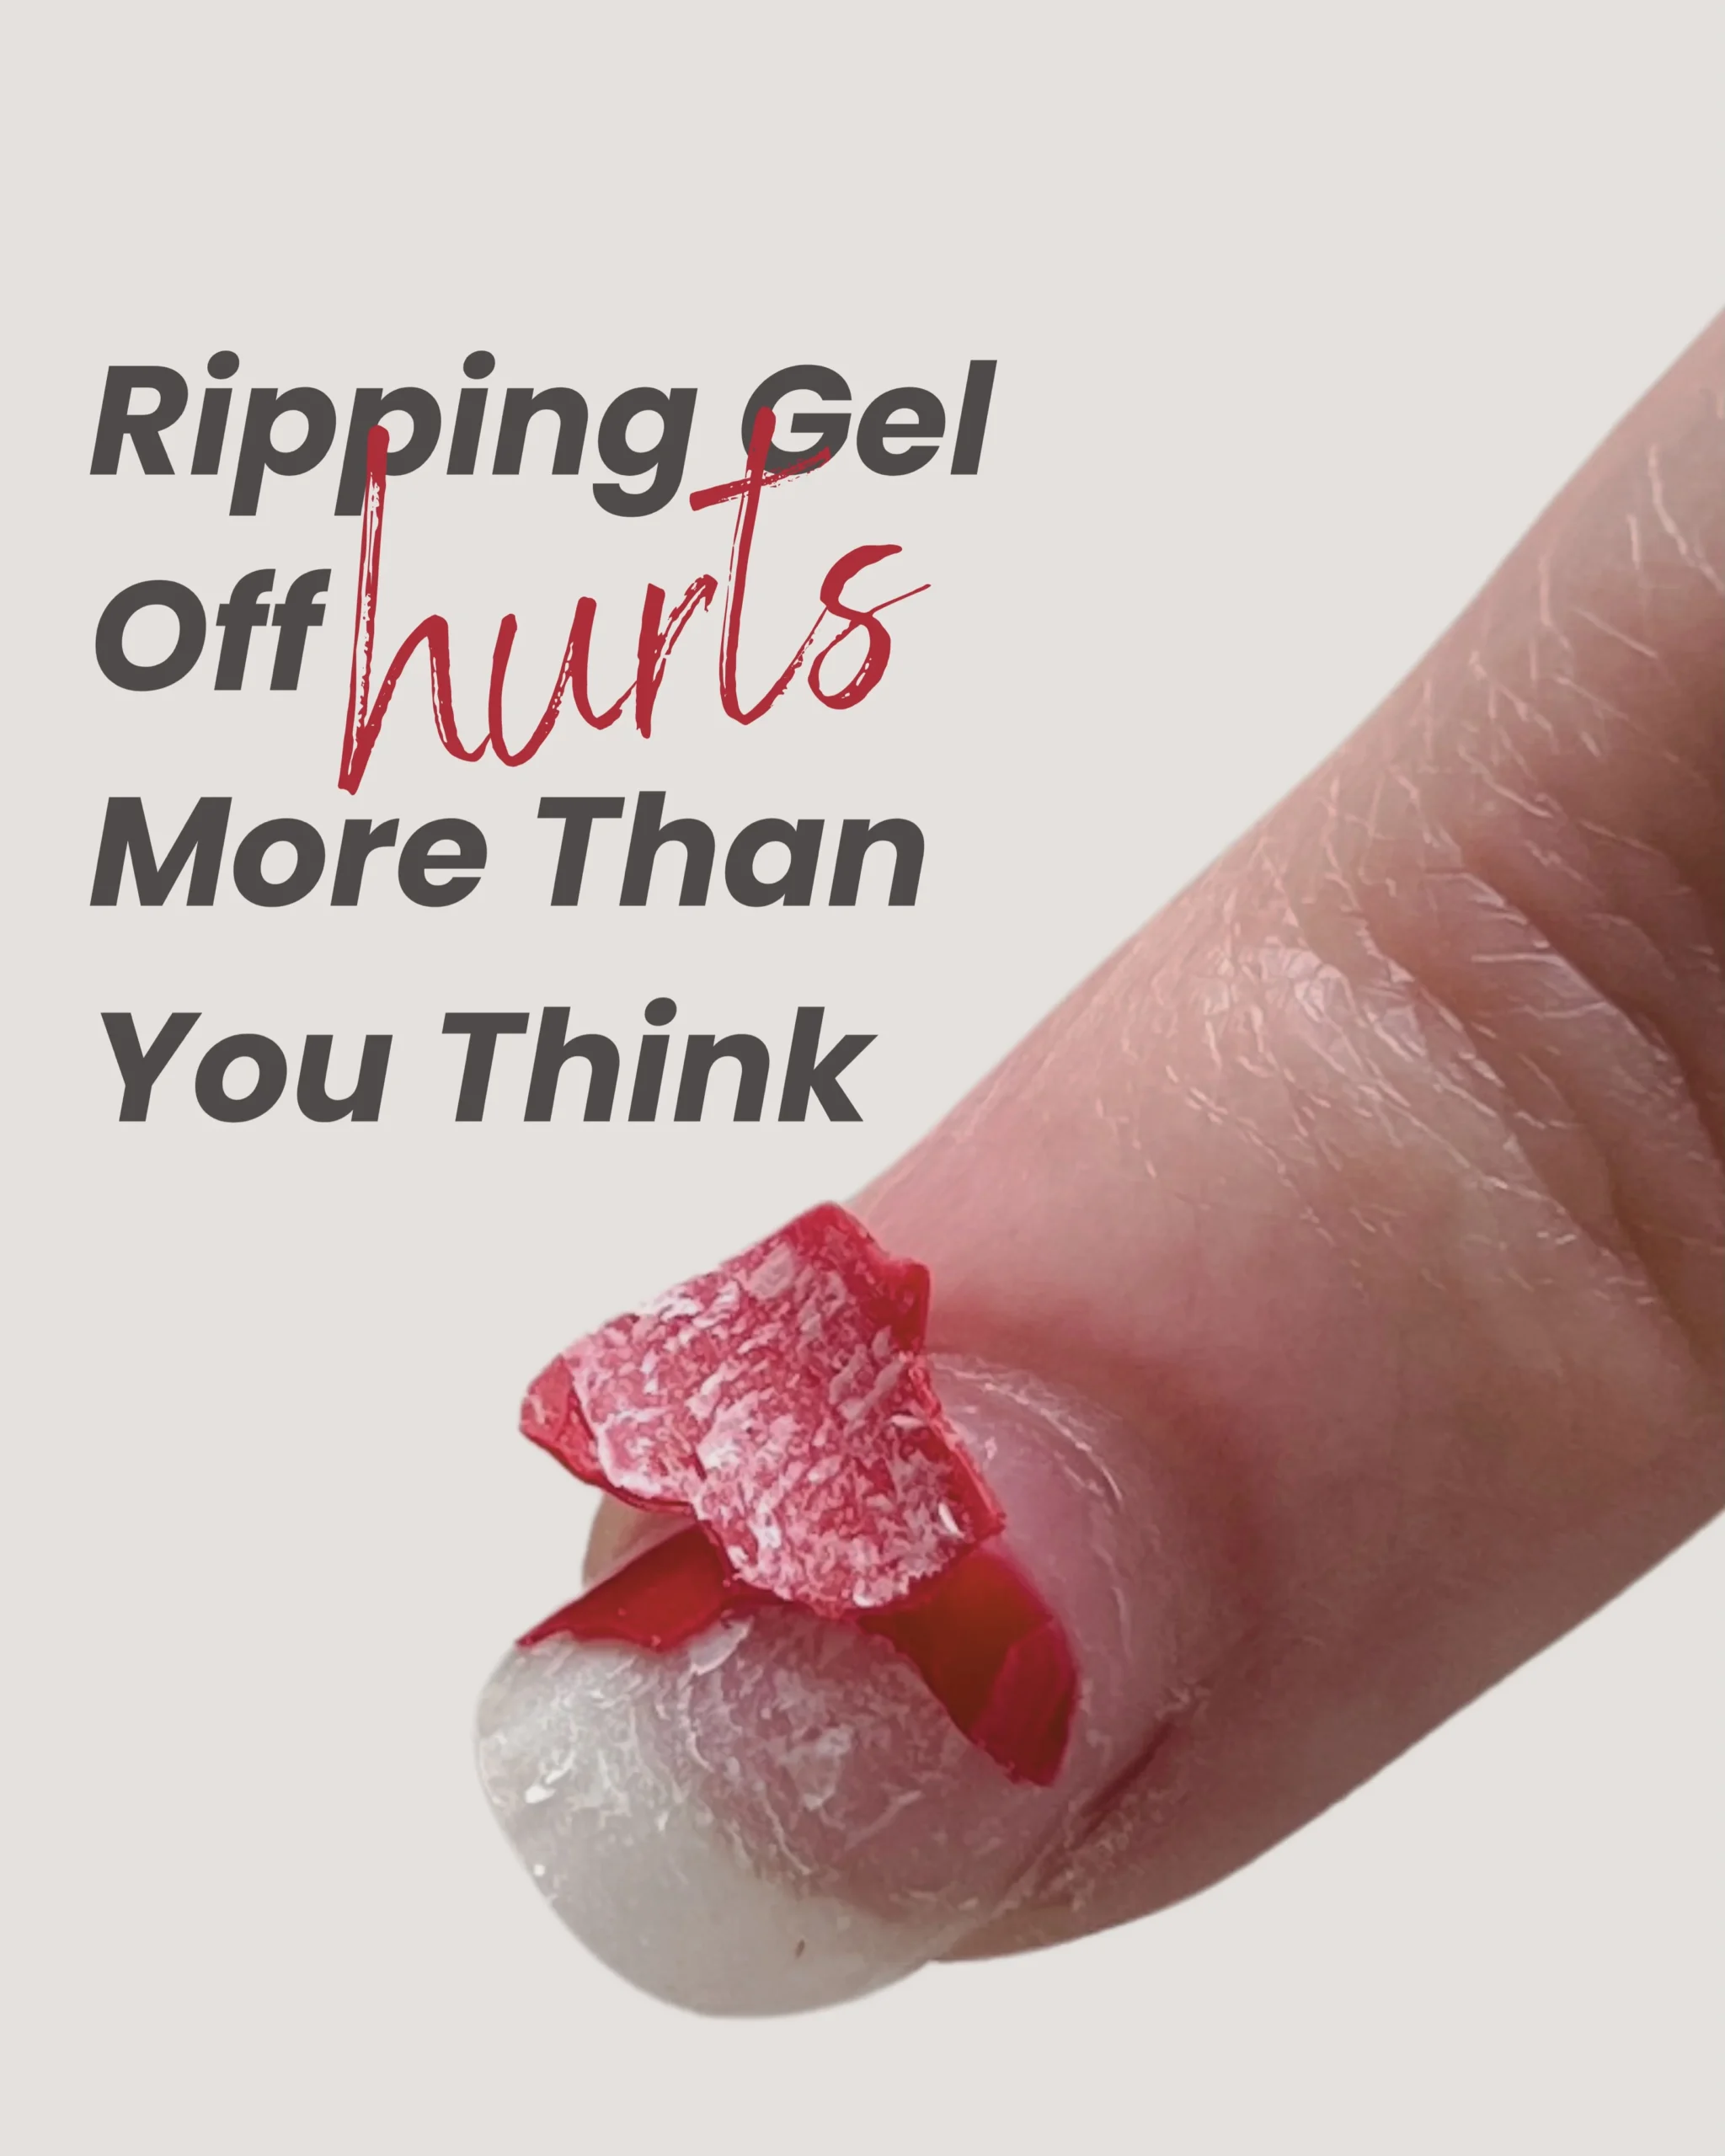
Peeling off a lifted corner feels satisfying for about two seconds, then the damage shows for weeks. Gel bonds tightly to the nail, so pulling it free tears away thin layers of the natural nail with it. The result is white patches, weak tips that bend, and nails that split and peel long after the polish is gone.
Scraping with metal tools and filing too hard cause the same harm in a slower way. Once the surface is scratched or thinned, polish chips faster and nails break at the edges. Gentle pressure, short soaks, and patience always win.
Moisturize And Let Your Nails Recover
Credit: @danis.manis
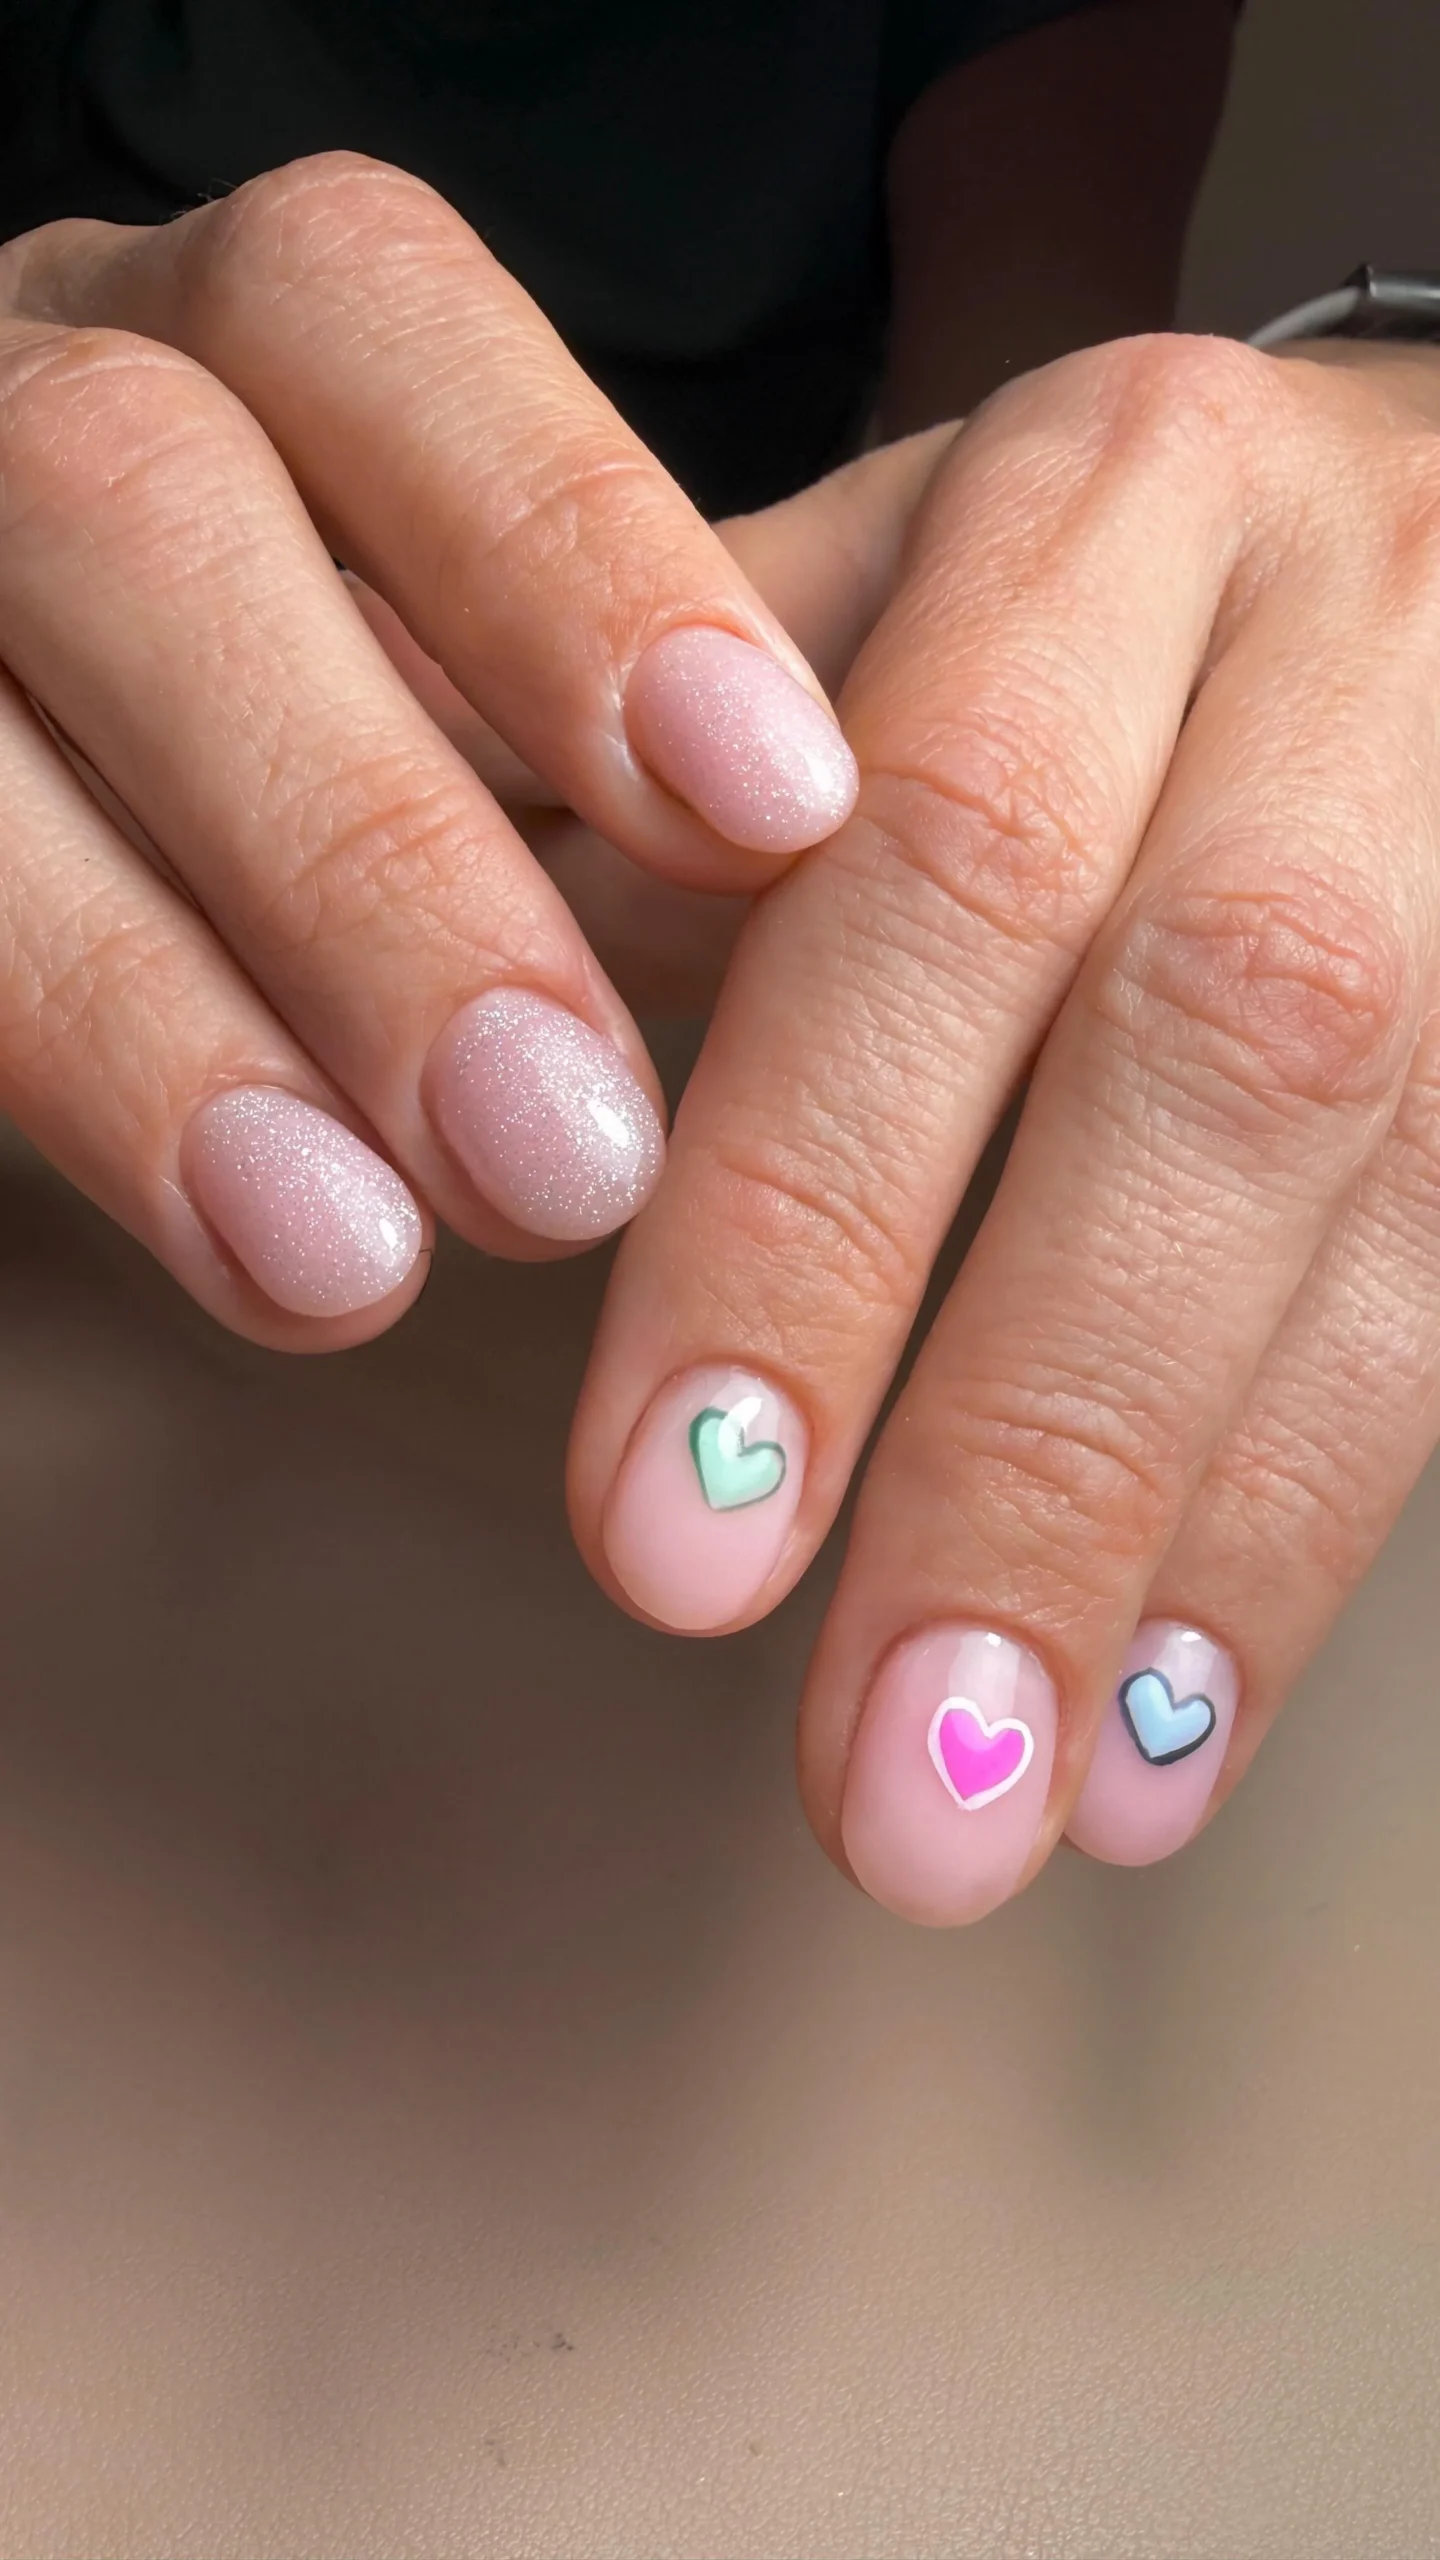
Removal is only half the job, because bare nails drink up moisture fast after acetone. A short aftercare routine on the same day, repeated through the week, brings back flexibility and shine. Healthy nails bend a little instead of snapping, and they hold your next manicure far better too.
- Massage one drop of cuticle oil into each nail and the skin around it, twice a day for the first three days.
- Follow with a rich hand cream, paying extra attention to the fingertips, and wear cotton gloves for an hour if your hands feel very dry.
- Keep nails short and lightly shaped for a week, since freshly cleared tips break more easily while they recover.
- Wait at least a few days, ideally a full week, before a new gel set so the nail plate can regain strength.
- Reach for a nail strengthener or a clear regular polish if bare nails feel too soft during the break.
Gentle removal is a skill, and now you have the whole routine in one place. Remember the pattern behind how to remove gel nails at home: file the shine, soak with patience, push only what has softened, and soak again instead of forcing a stubborn patch. Finish with oil, cream, and a short break, and your natural nails stay smooth and strong. Save this guide on Pinterest before your next removal day, try the method exactly as written once, and share it with a friend who always peels her gel off in the car.