How to Fix a Broken Nail at Home: 6 Easy Methods
A cracked nail always seems to happen at the worst moment, right before an event or just after a fresh manicure. Before you clip it off, read this first. This guide shows you how to fix a broken nail at home, using six easy methods and simple things you probably already own, like nail glue, a tea bag or dip powder. There is a fix here for every kind of break, from a tiny crack at the edge to a deep split across the middle. Pick the method that matches your nail, work slowly, and the break will be patched, smooth and ready for polish in about fifteen minutes.
How Bad Is the Break
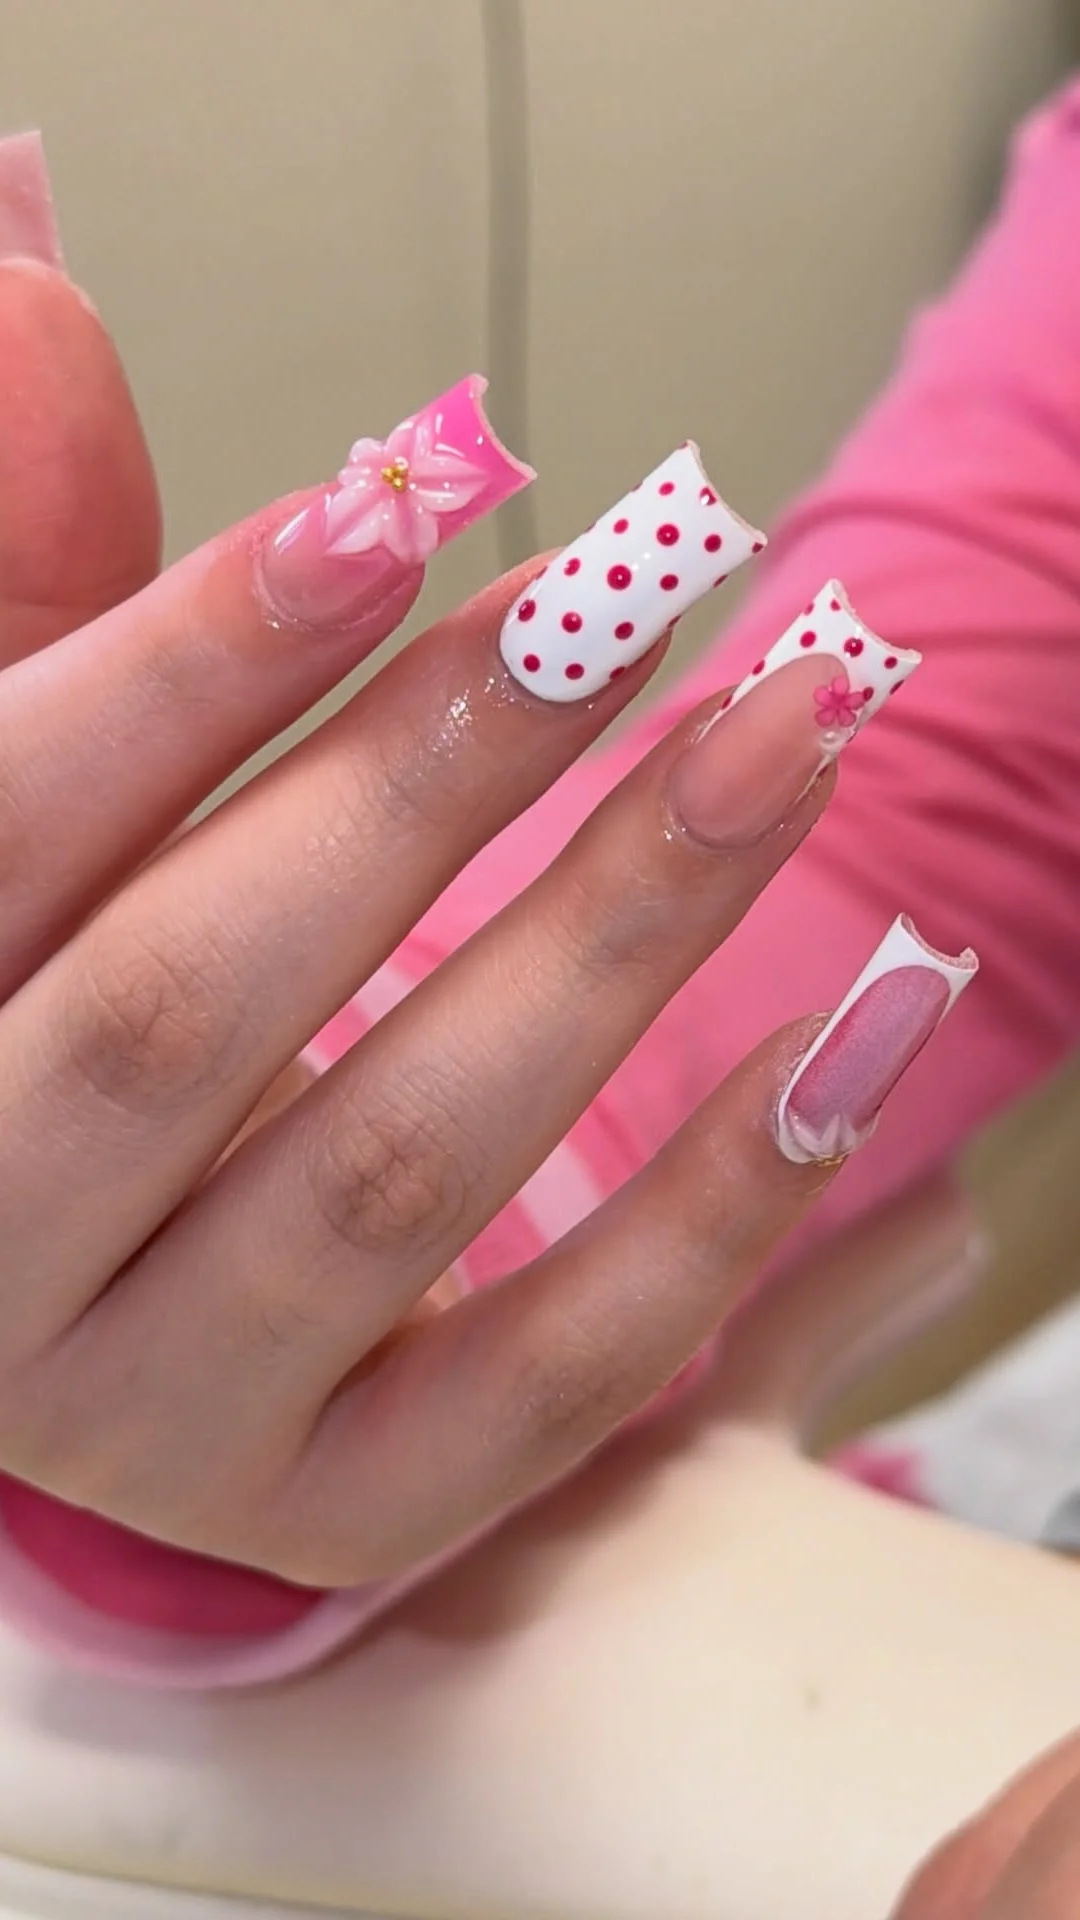
Photo by @_nailsbynaee on Instagram
Start by looking at the break in good light. A small chip at the free edge is the easiest kind to deal with, because the nail underneath is still strong. A crack running across the nail is more serious, but it can often be patched and grown out.
A break low down near the nail bed is different. If the skin under the nail shows, or the nail lifts and bleeds, a patch will not hold and can trap dirt. In that case, trim the nail short, keep it clean, and let it grow back.
What You Need Before You Start
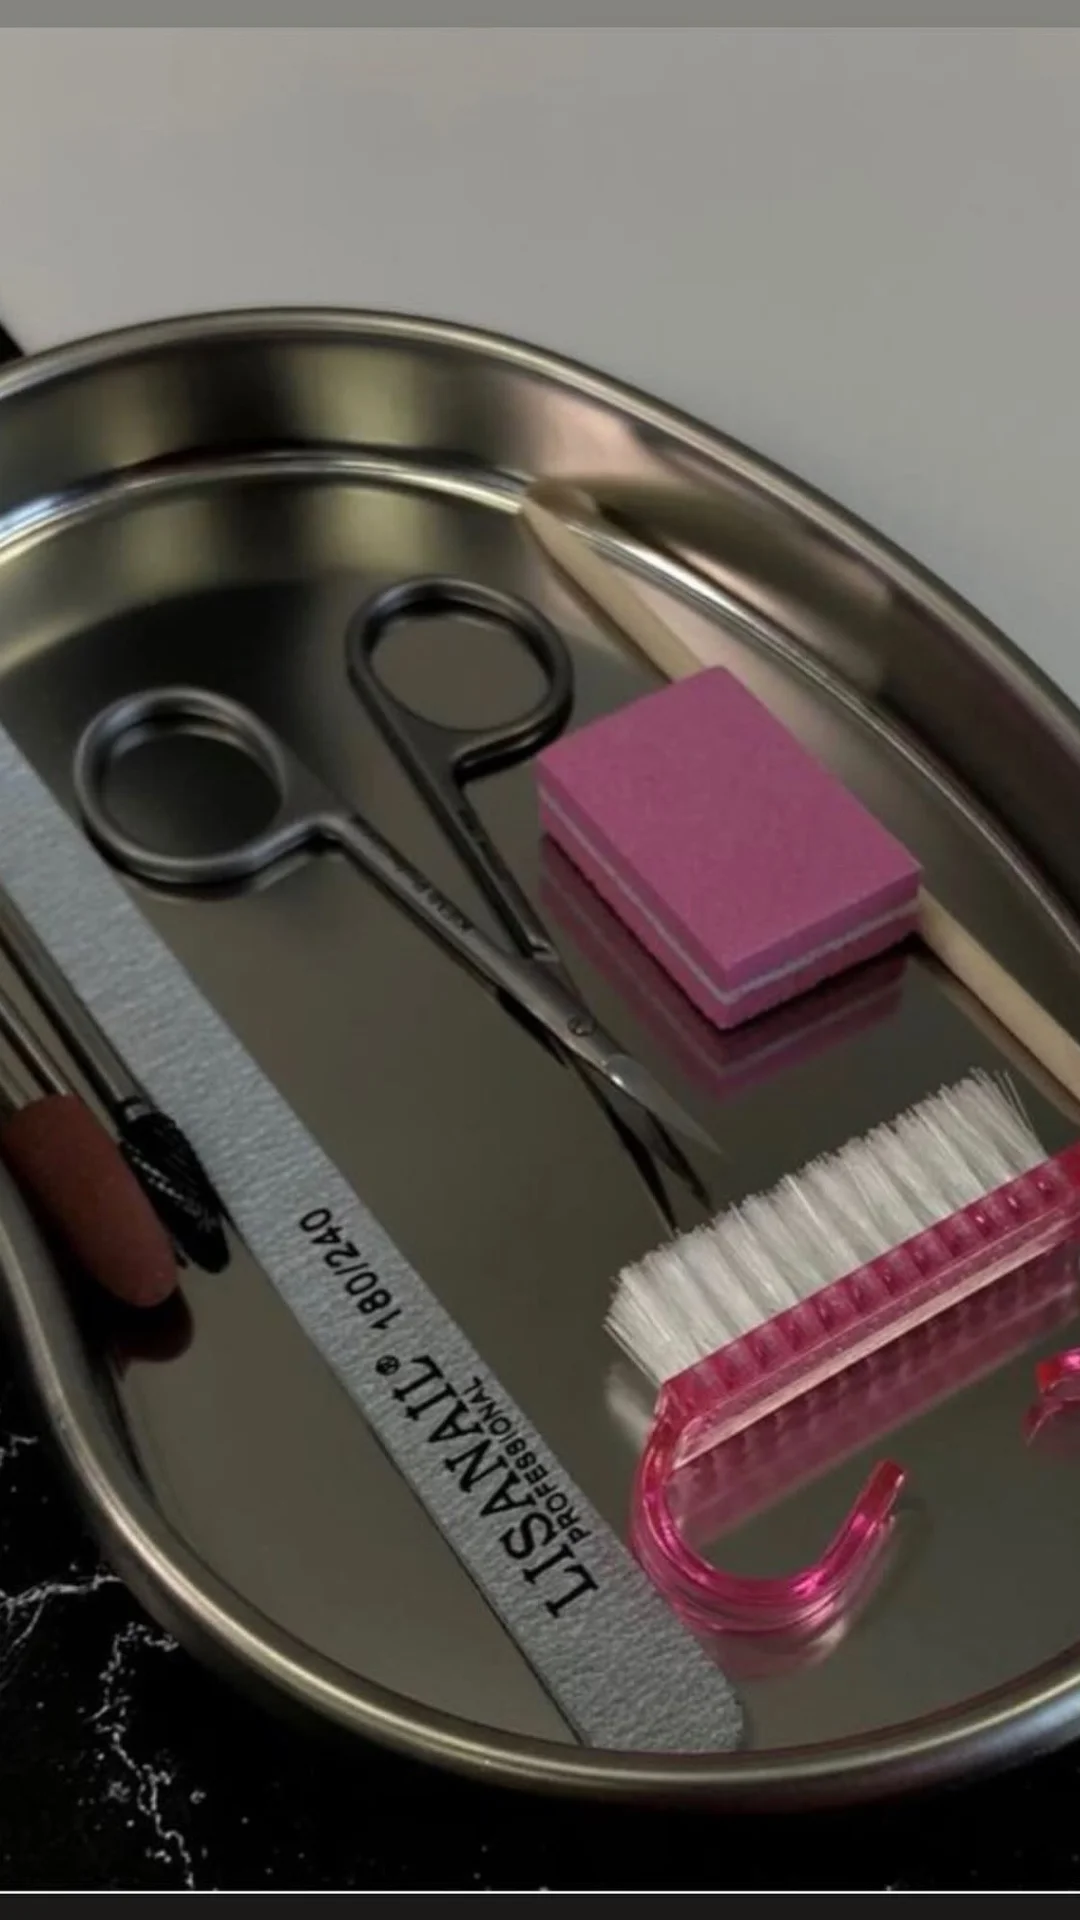
Photo by @zakhina_nails on Instagram
A repair goes wrong most often because something is missing halfway through, when the glue is already open. Laying everything out first keeps the job calm and quick, and it stops you touching wet glue with bare fingers while you hunt for a file or scissors.
- Wash and dry your hands, then set out a fine nail file and a gentle buffer for smoothing the finished patch.
- Put a small bottle of nail glue in the middle of your workspace, since most repair methods depend on it.
- Cut open an empty tea bag and keep a small piece aside, or lay out a silk wrap strip if you have one.
- Add small scissors for trimming the patch, plus a base coat and your chosen polish colour for the final cover.
- Finish with nail polish remover and a cotton pad, ready for cleaning the nail surface before anything sticks to it.
Trim and File the Broken Edge First
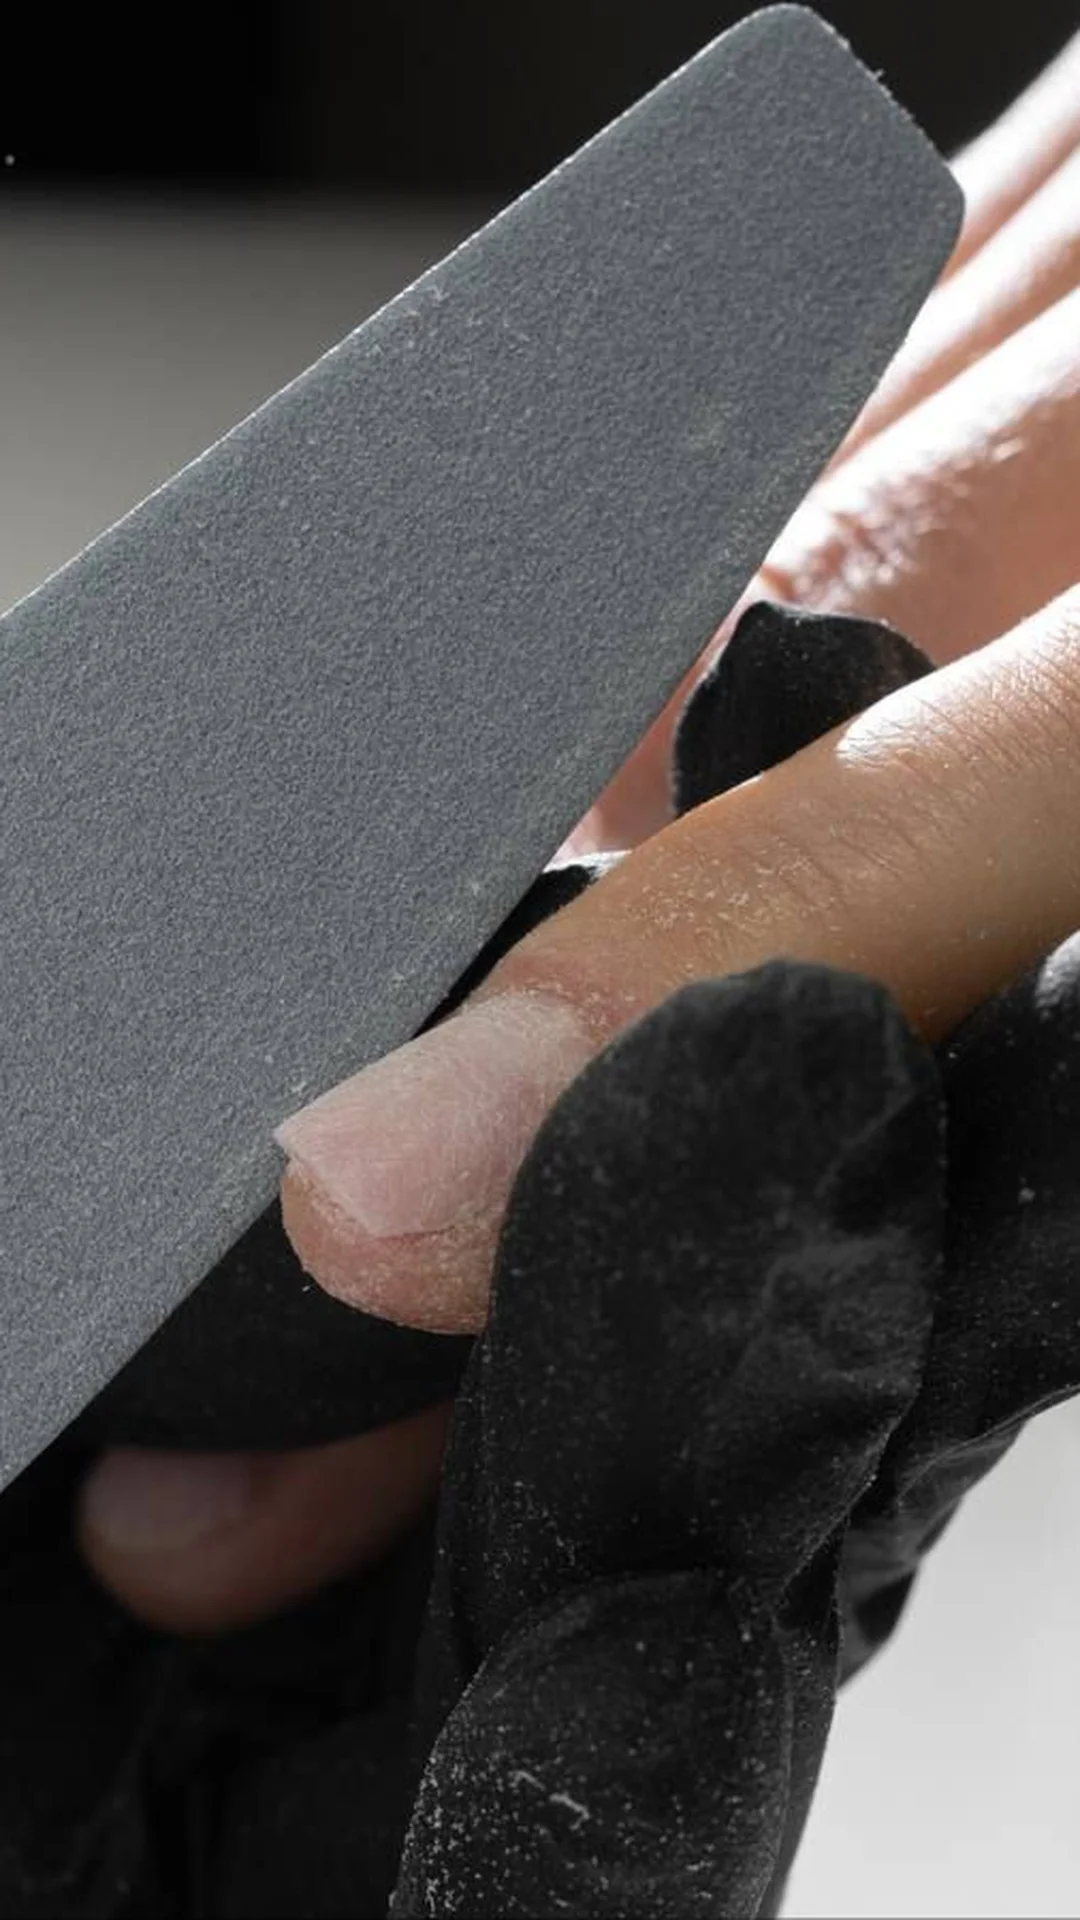
Photo by @havennails20 on Instagram
Quick Tip: Always file in one direction, from the outside edge toward the centre. Sawing back and forth splits the layers of the nail and can open the crack wider than it was.
Wash your hands with soap and dry them, then file the snagged edge gently until it stops catching on fabric. Press the two sides of the crack together with a fingertip so the edges meet. Wipe the nail with remover on a cotton pad, because glue and patches grip only on a clean, dry surface.
The Tea Bag Patch
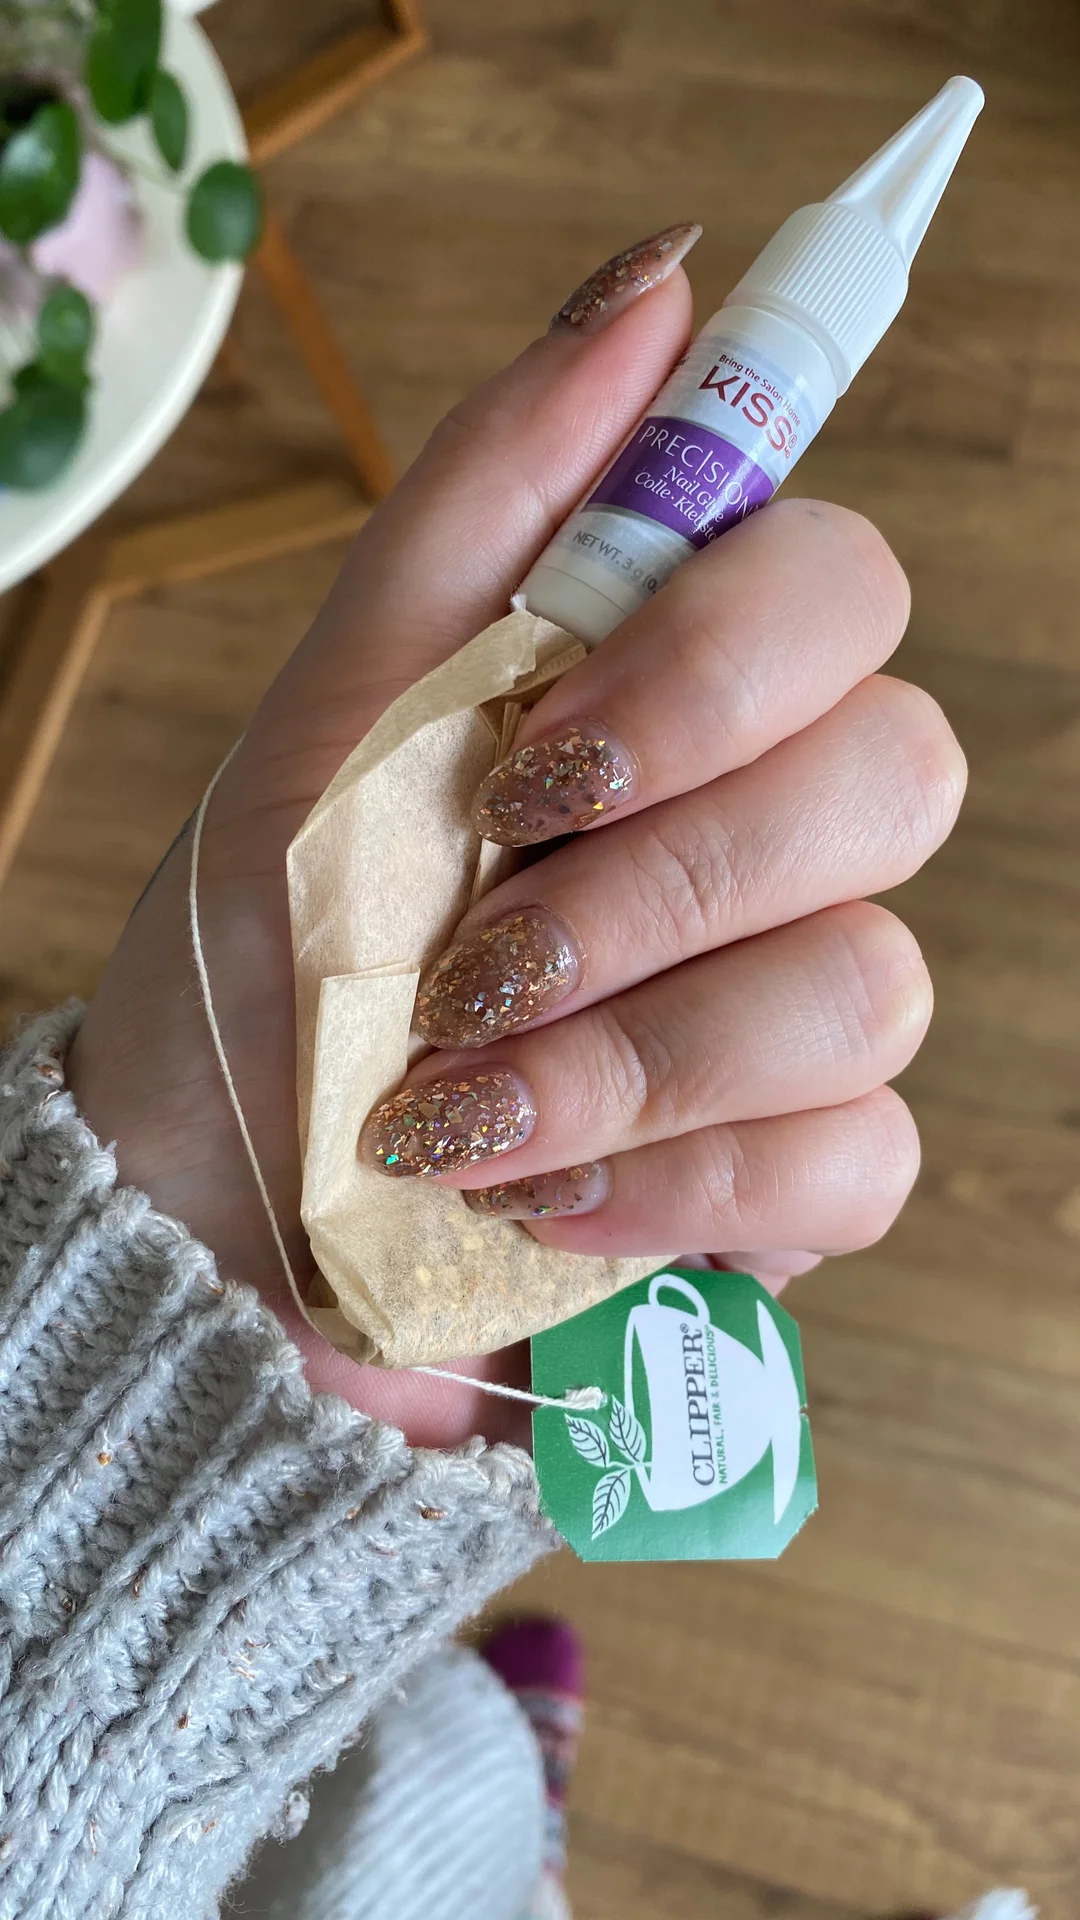
Photo by @oangelicapaigej on Instagram
Common Mistake: Cutting the tea bag piece far too big, so it hangs over the sides of the nail and lifts within a day. A patch that is too thick also shows through polish as a rough bump.
The Fix: Trim the piece so it covers the crack with only a small margin on each side. Press it flat while the glue is wet, and file the edges down once it is fully dry.
Place the piece over the crack and dab nail glue or base coat through it with the brush. Let it dry for two minutes, then add one more layer of glue on top. Buff lightly once hard and polish as normal. This is the simplest answer to how to fix a broken nail at home.
Silk Wrap or Fibreglass Patch
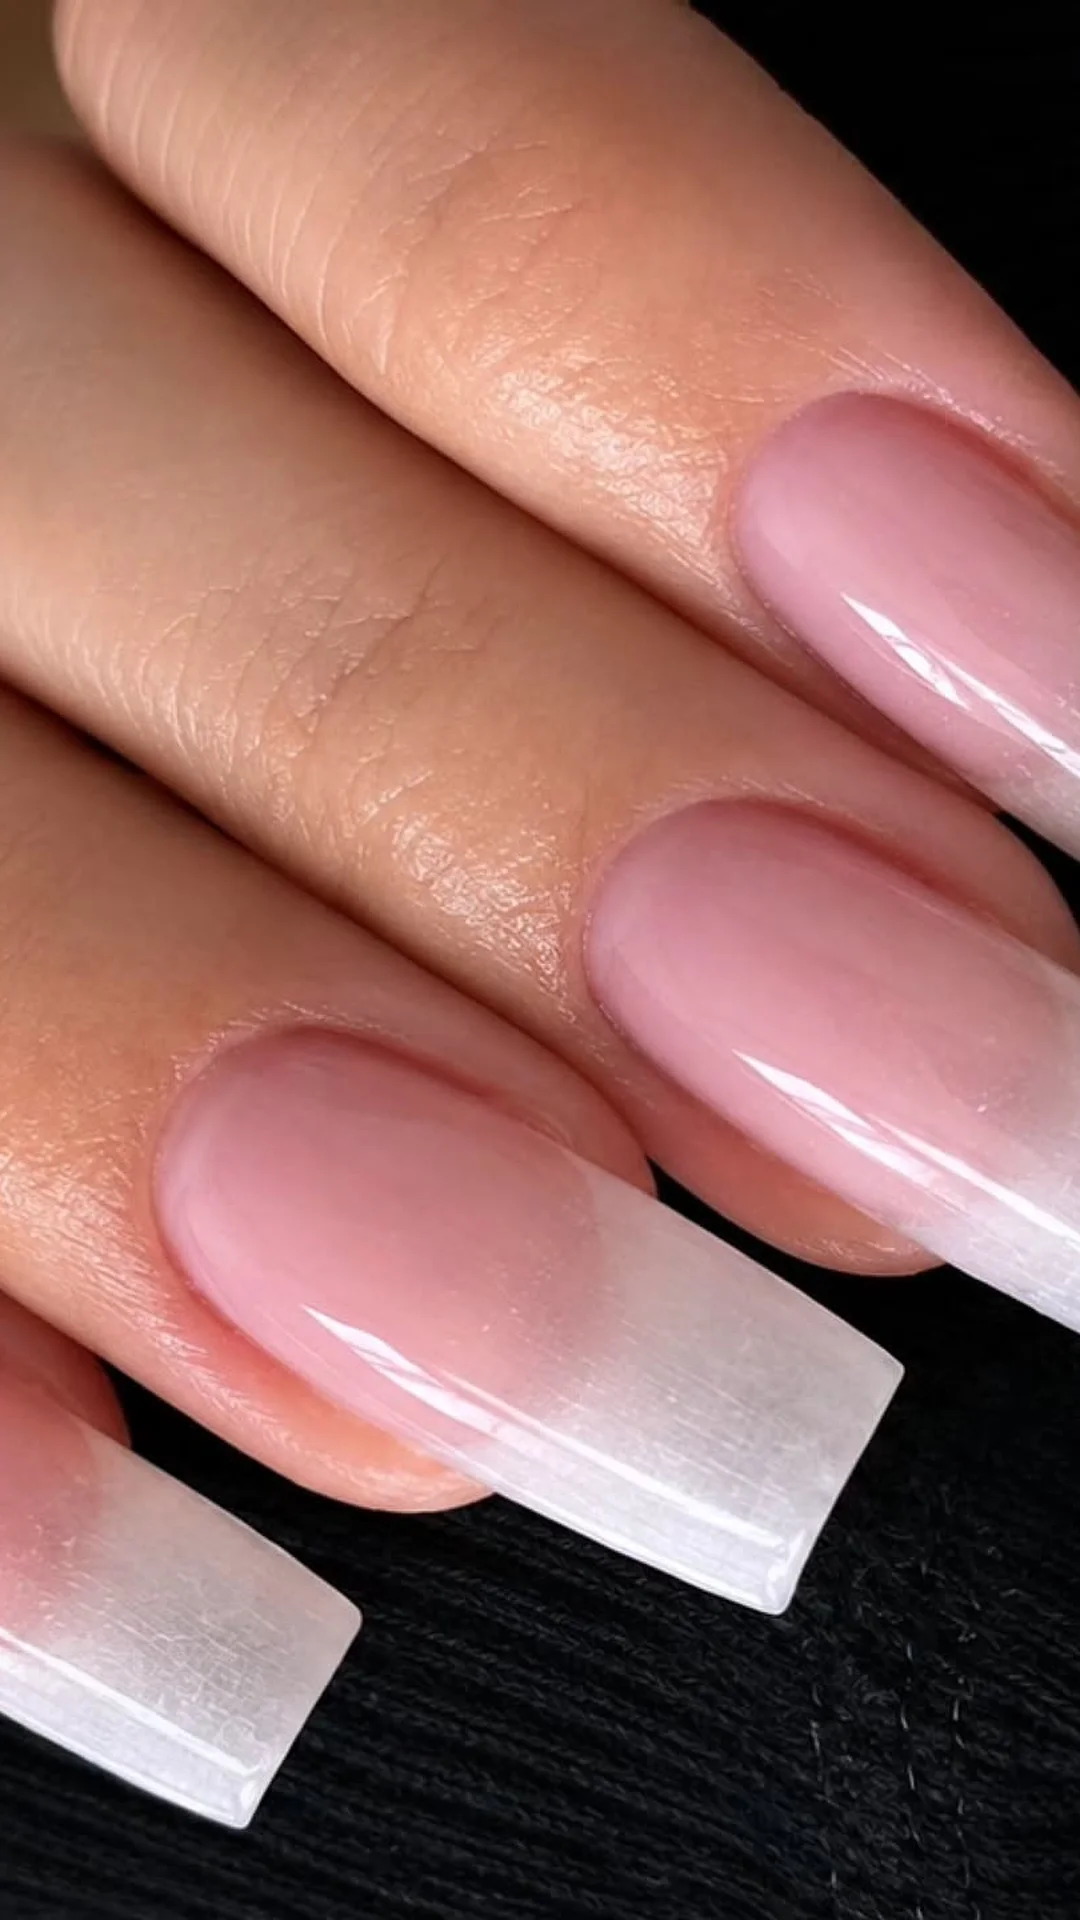
Photo by @gelx_enhancements on Instagram
What You Need:
- Silk wrap strips: fine woven fabric pieces with a sticky back, ready to cut to the exact size of your break.
- Nail resin or nail glue: the liquid that soaks through the fabric and hardens into a firm shell over the crack.
- Small scissors: sharp points let you trim the strip neatly along the curve of your nail.
- Buffer: a fine block for levelling the hardened wrap so it sits flush with the natural nail.
- Base coat and polish: the finishing layer that seals the repair and hides the fabric completely.
Cut a strip slightly wider than the break, peel off the backing, and press it down along the curve of the nail. Brush resin or glue over the whole strip and let it harden fully. Buff the surface smooth, wipe away the dust, and finish with base coat and polish for a stronger, neater repair.
Nail Glue and Buff
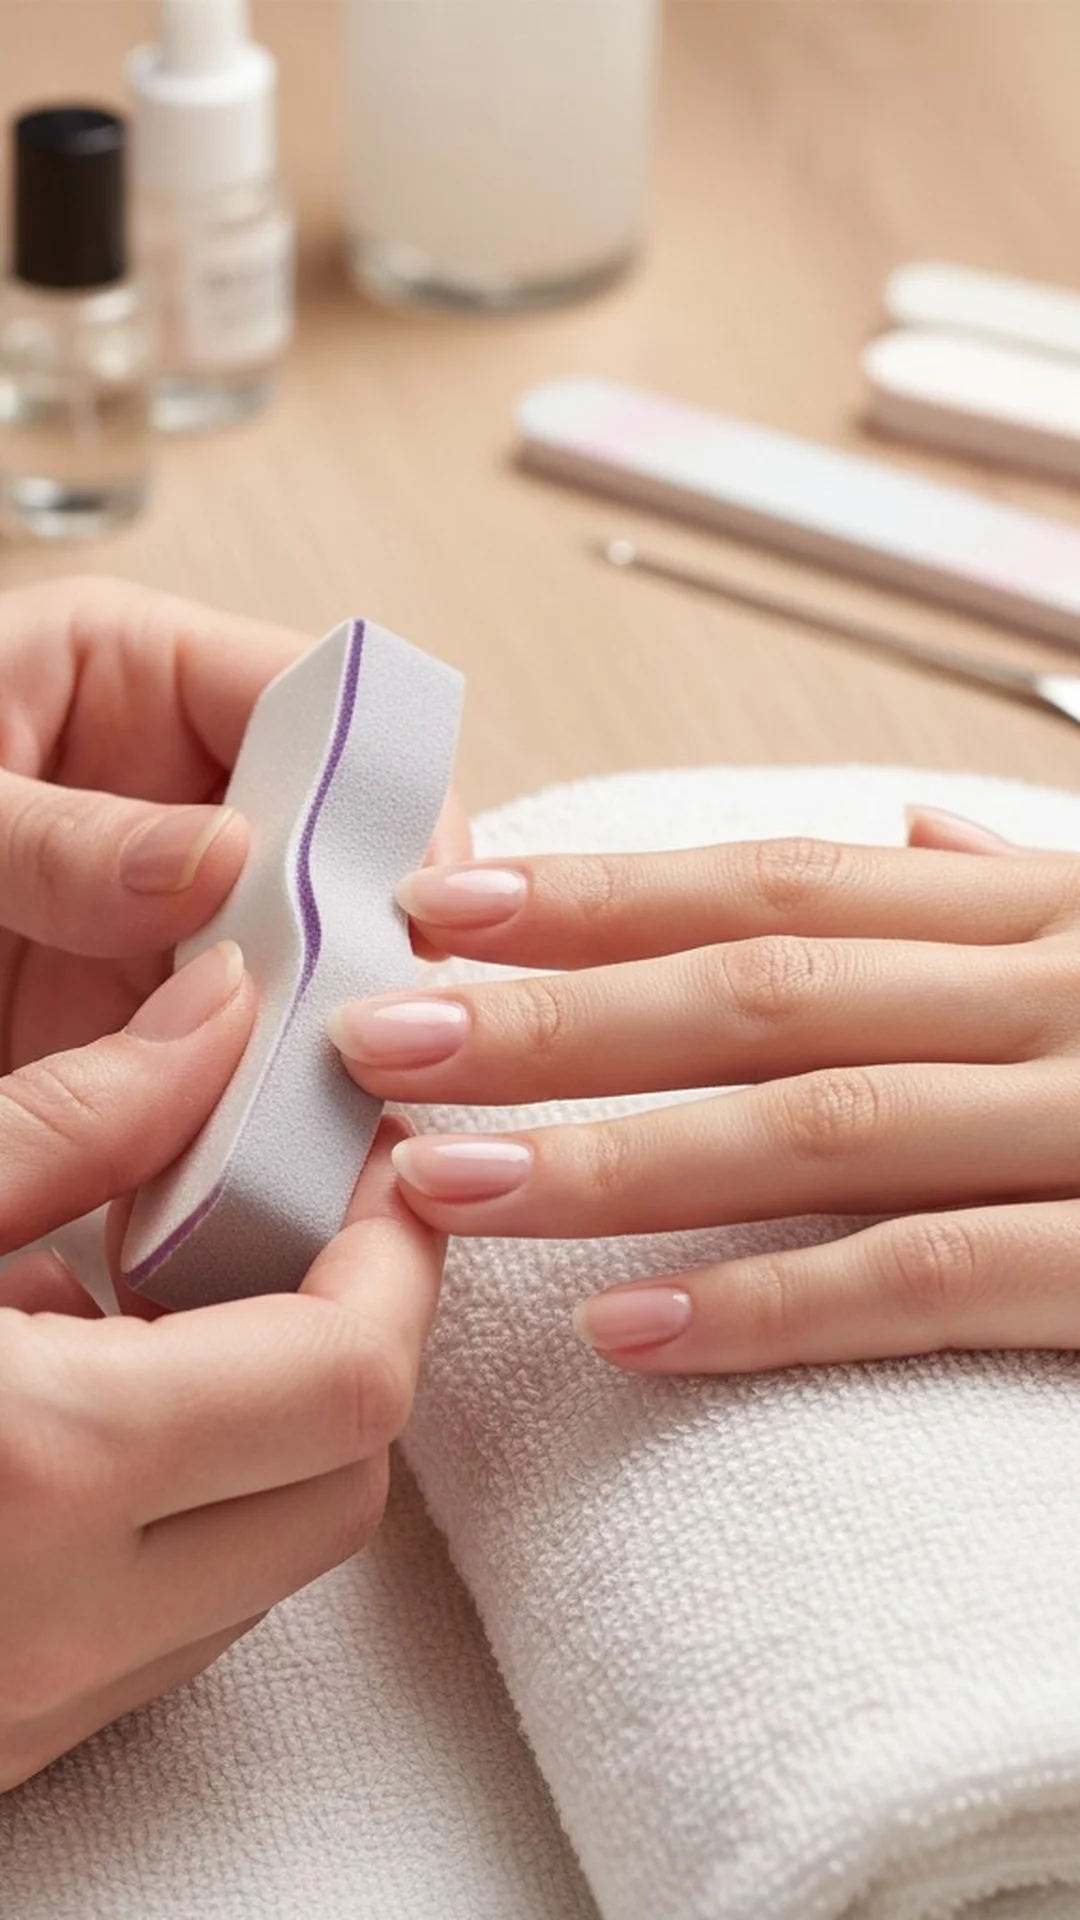
Photo by @minty1574 on Instagram
Before: The snapped edge catches on everything and the crack opens a little more each time it snags. One side sits lifted, so water and soap slip underneath whenever you wash your hands.
After: The break sits flat and sealed, with the edge lying flush against the rest of the nail. The ridge is gone, so the surface feels smooth when you run a fingertip across it.
Work on a clean, dry nail. Squeeze one tiny drop of nail glue right into the break, then press the loose piece down and hold it for a full 30 seconds. Once the glue is completely dry, buff the ridge gently until it disappears, then seal everything with a layer of base coat.
The Gel or Acrylic Overlay Fix
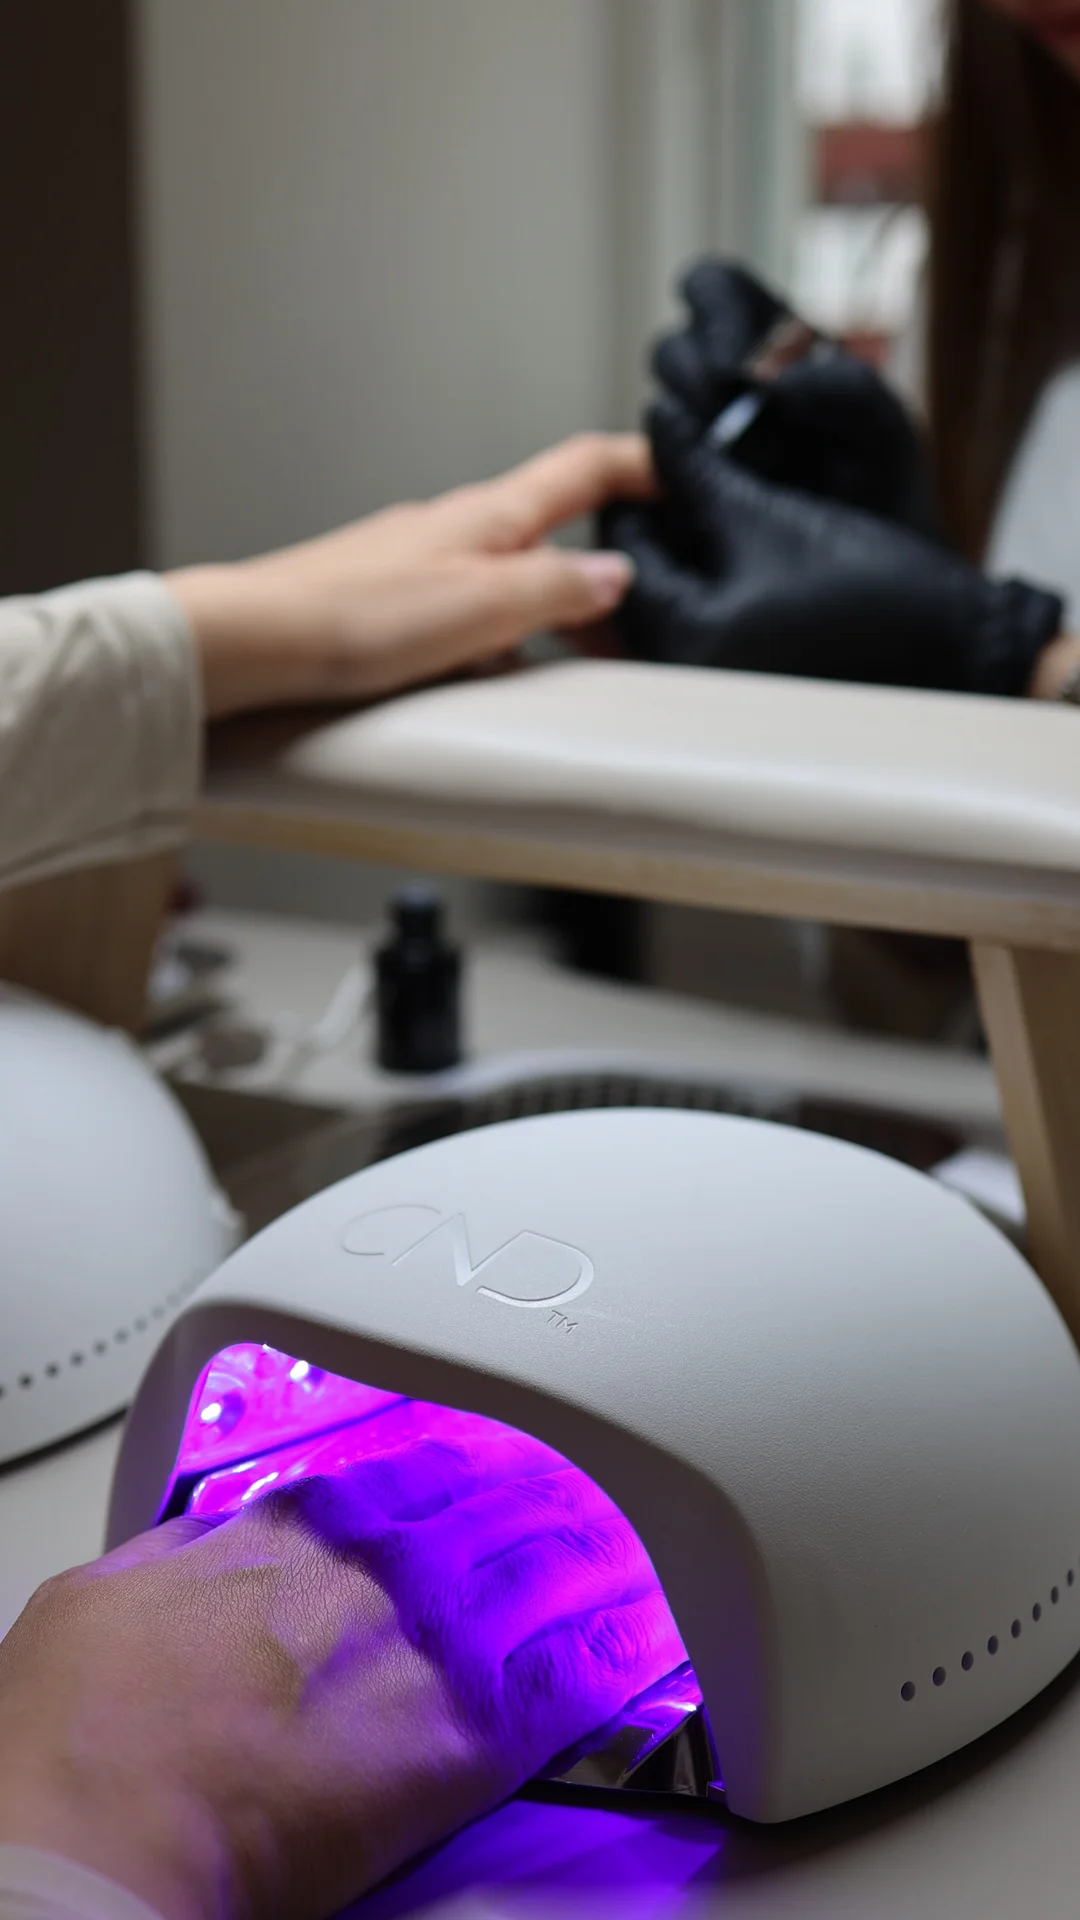
Photo by @olga.rostenko.nails on Instagram
Do This:
- Apply one thin layer of builder gel or acrylic directly over the crack, extending it slightly past the break on both sides.
- Cure the layer fully under your lamp for the full time your product label states.
- Buff the surface lightly once it is cured so the patch blends with the natural nail.
- Seal the patch with a top coat so water cannot creep under the edges.
Avoid This:
- Avoid adding a thick blob of product, because a heavy layer lifts at the edges and peels away faster.
- Avoid this fix if you have never used gel or acrylic before, since uncured product on skin can cause irritation.
- Avoid curing for less time than the label says, because soft, tacky gel traps dust and weakens the patch.
- Avoid picking at the patch when it starts to grow out; soak or file it off gently instead.
This fix suits readers who already do gel or acrylic nails at home and own a lamp. The thin layer works like a small splint, holding the crack closed while the nail grows out underneath. Check the patch every few days and reapply the top coat if the edges start to look dull.
Dip Powder Patch
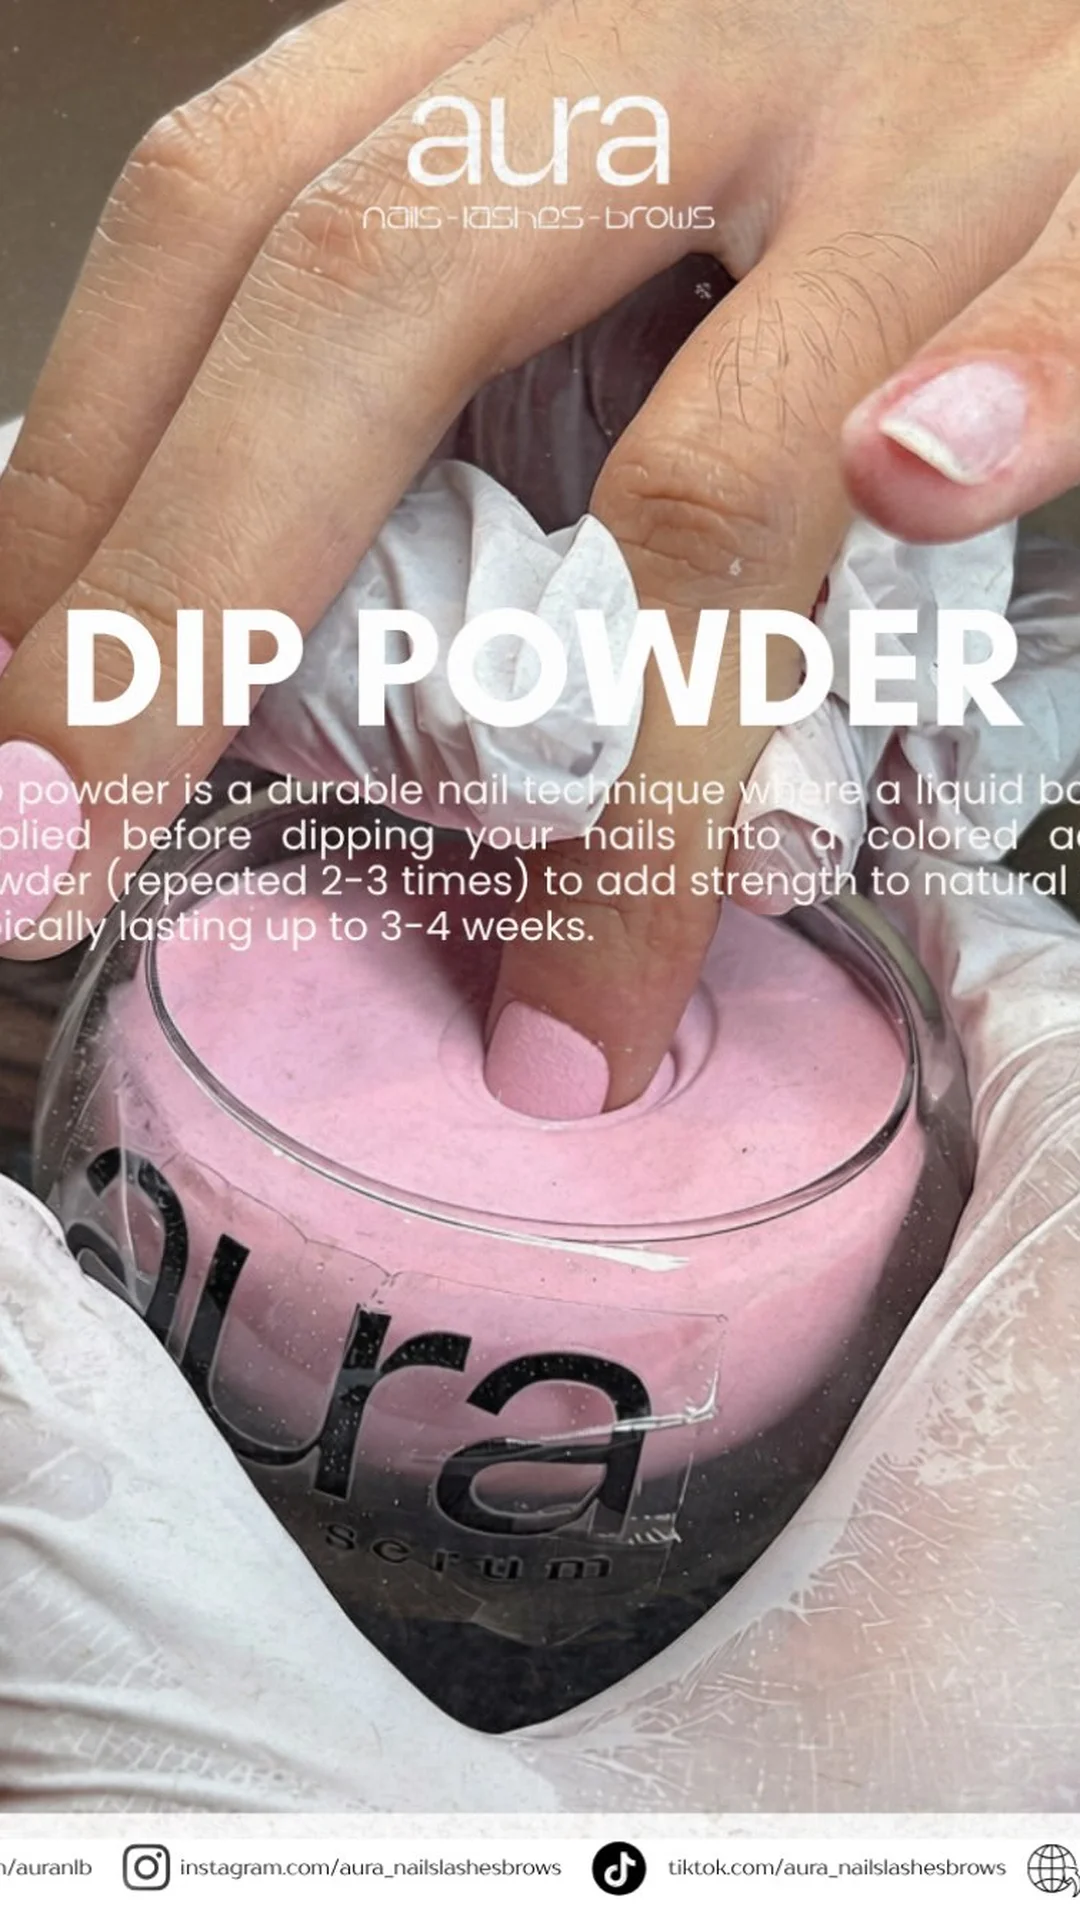
Photo by @aura_nailslashesbrows on Instagram
Time Needed: 15 minutes | Difficulty: Easy | Cost: Low
Tools Required: Dip base liquid, clear dip powder, activator, buffer
Best For: A crack across the middle of the nail that needs hard cover
Result: A hard, smooth shell that hides the repair completely
Brush the base liquid over the crack and a little past it on both sides. Dip the nail straight into clear powder, tap off the loose dust, and repeat the liquid and dip one more time. Brush on the activator, wait until the shell feels hard, then buff it smooth and finish with top coat.
Clip It Off and Even the Rest
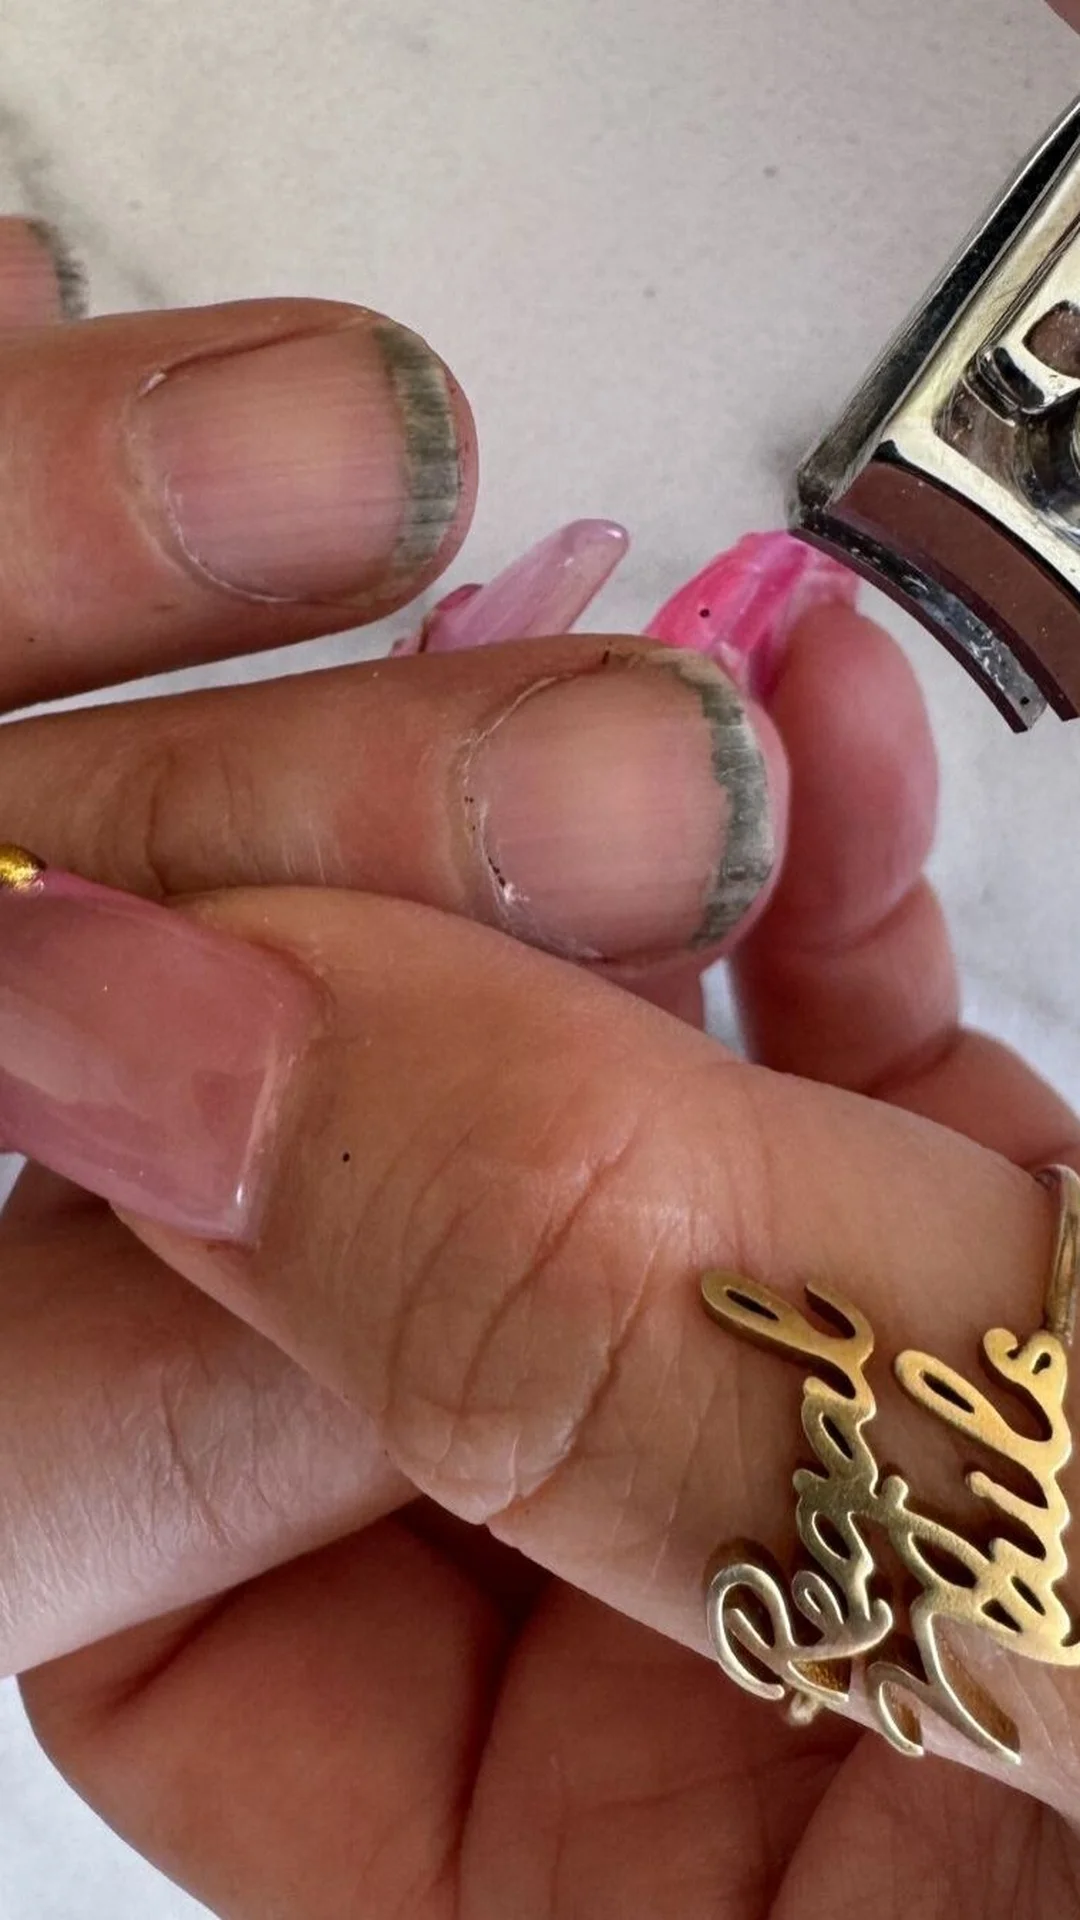
Photo by @regalnails_portstlucie on Instagram
Some breaks sit too low to save. If the crack runs into the pink part of the nail or hurts when you press it, patching only traps the damage and delays the same decision.
Clip the broken nail straight across, just above the break, using clean nail clippers. File the new edge smooth with gentle strokes in one direction so no rough corner is left to catch. Then file every other nail slightly shorter to match. The set looks even again, and the short nail usually catches up within a few weeks.
Mistakes That Make the Break Worse
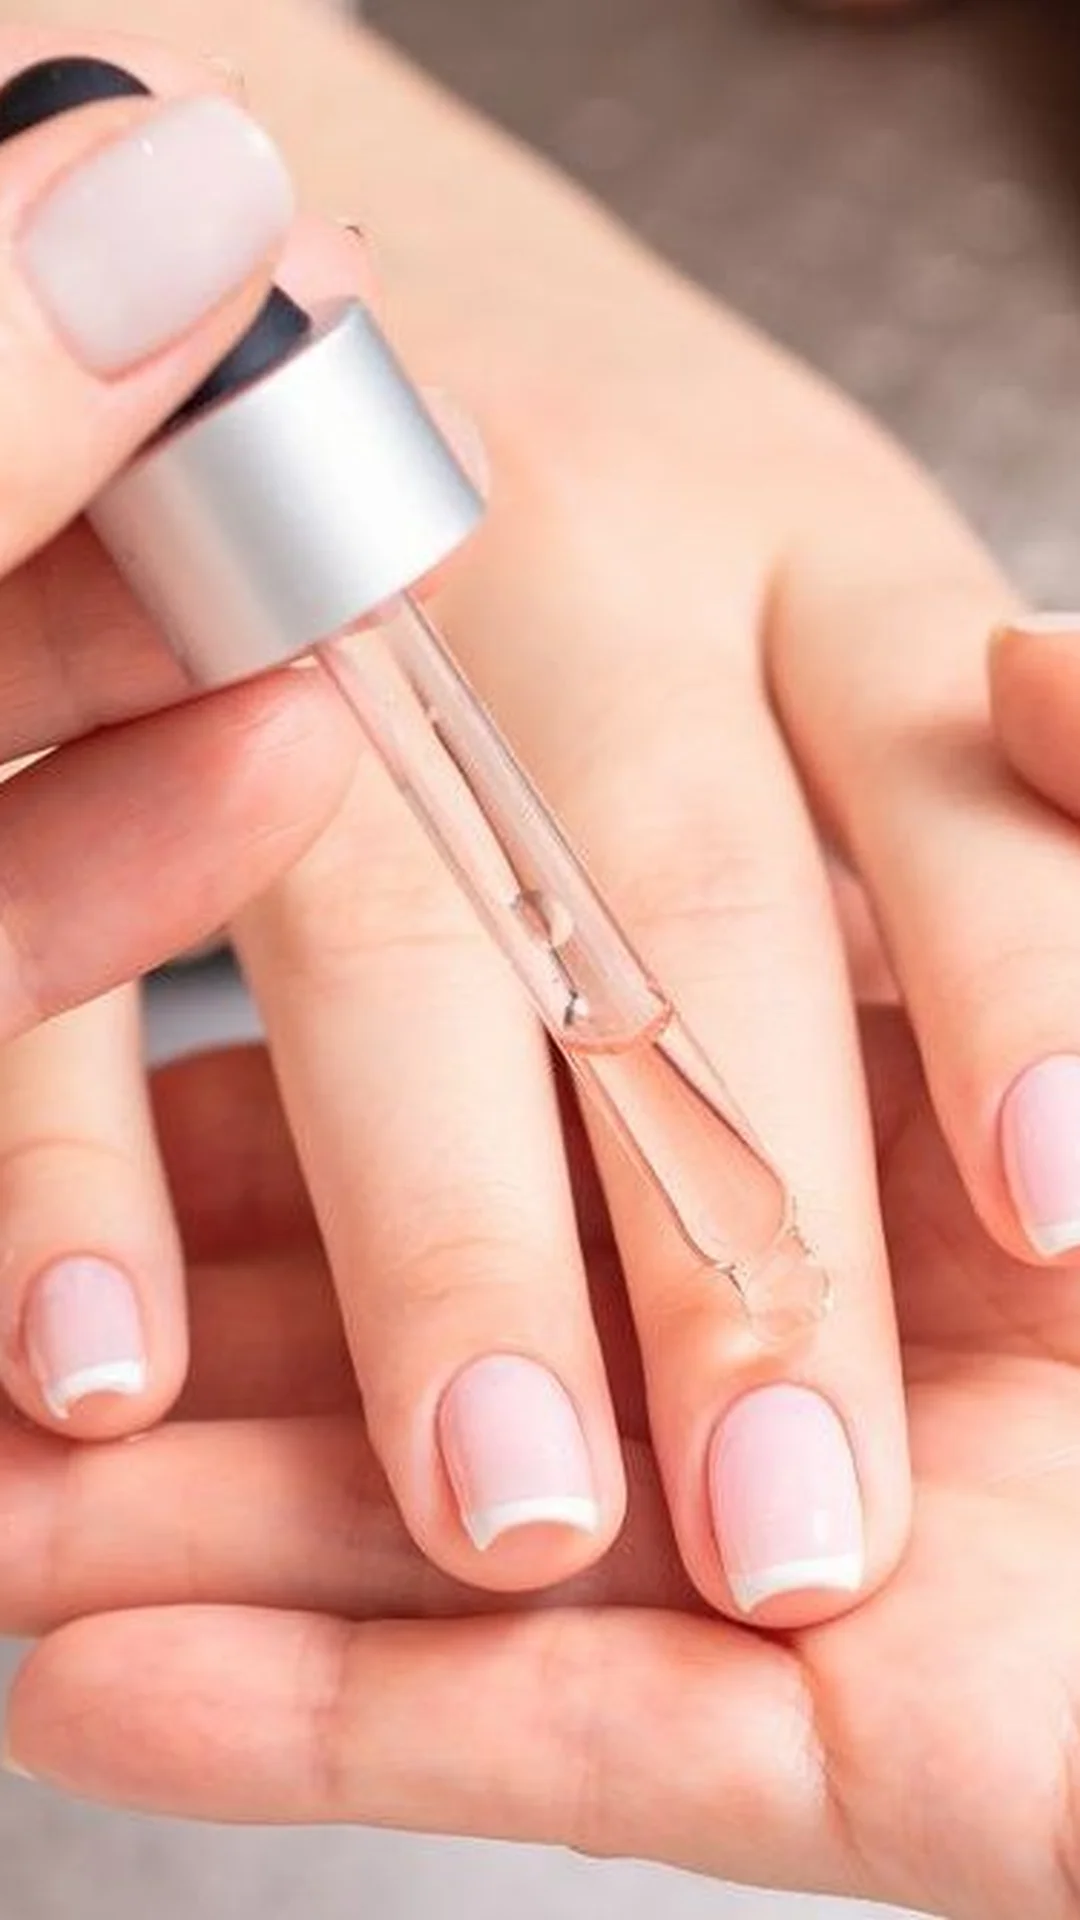
Photo by @nailsessentials_jackson on Instagram
A small break turns into a lost nail when the repair is rushed or the aftercare is skipped. Most extra damage happens in the first few minutes, when the loose piece tempts you to pull at it, or later, when the patch is left unprotected for days.
- Never peel, pull or bite the broken piece off. Tearing it away rips healthy layers with it and leaves a thinner, weaker nail behind.
- Never let nail glue touch your skin. Glue bonds skin fast, so wipe any stray drop away at once and keep the tip of the bottle over the nail only.
- Never skip the cleaning step before a repair. Glue and patches will not hold on oily or dusty nails, so wash, dry and wipe the nail with alcohol first.
- Never file in a back and forth sawing motion. File in one direction only, because sawing splits the layers at the edge and opens new cracks.
- Refresh your polish or top coat every few days until the break grows out. A fresh seal keeps water out of the crack and stops the patch from lifting early.
Conclusion
A broken nail feels like a disaster in the moment, but as you can see, it rarely needs a salon trip or a whole new set. With a little glue, a simple patch or a fresh top coat, you now know how to fix a broken nail at home and keep it strong while it grows out. Work gently, keep the repair sealed, and check it every few days. Save this guide on Pinterest so it is there the next time a nail snaps, and share it with a friend who always breaks one before a big day.